WishList LMS enables you to safely refund a user’s transaction. This document explains where to initiate refunds, as they can be handled in two different locations depending on the payment type.
This document explains how to process refunds within the WishList LMS, highlighting two main scenarios: refunds for recurring subscriptions and one-time payments.
Processing Refunds Through the Subscriptions Page
Use this method to refund recurring subscriptions.
- Navigate to Dashboard > WishList LMS > Subscriptions.
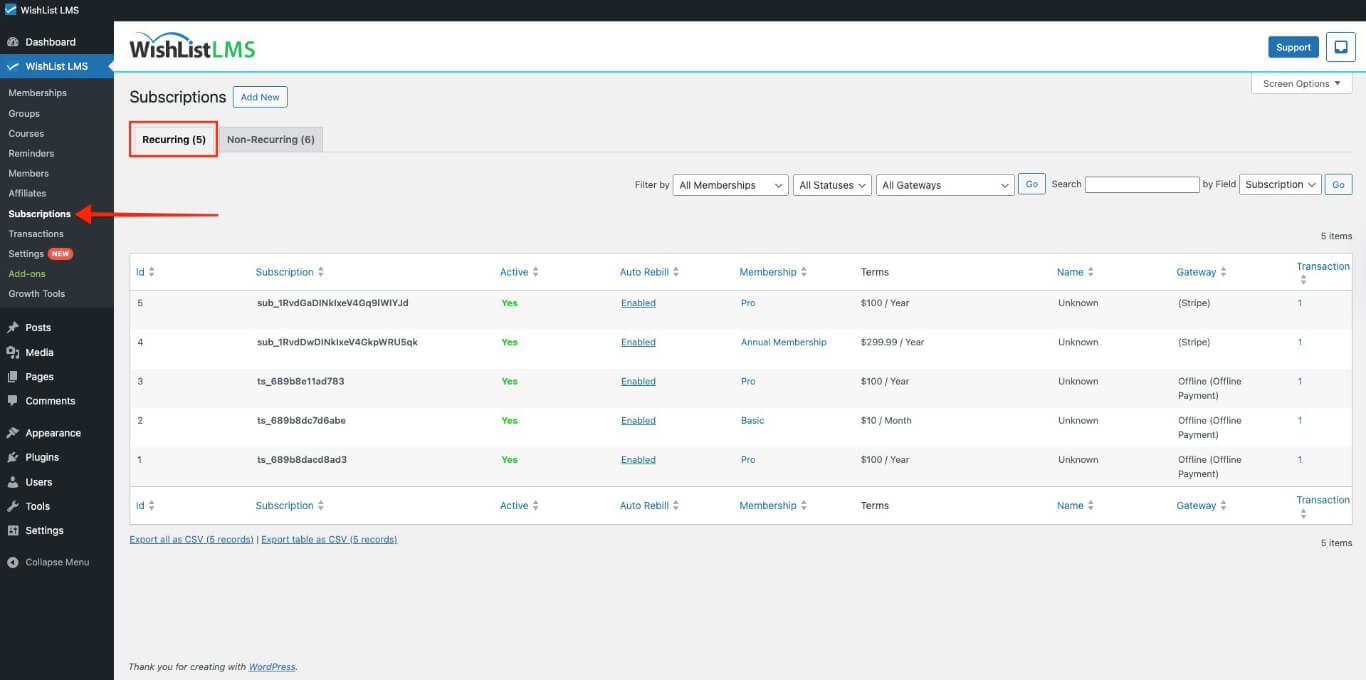
- Choose Recurring tab for subscriptions that automatically renew, or Non-Recurring tab for one-time payments.
- Find your subscription with the search tool or look through the list.
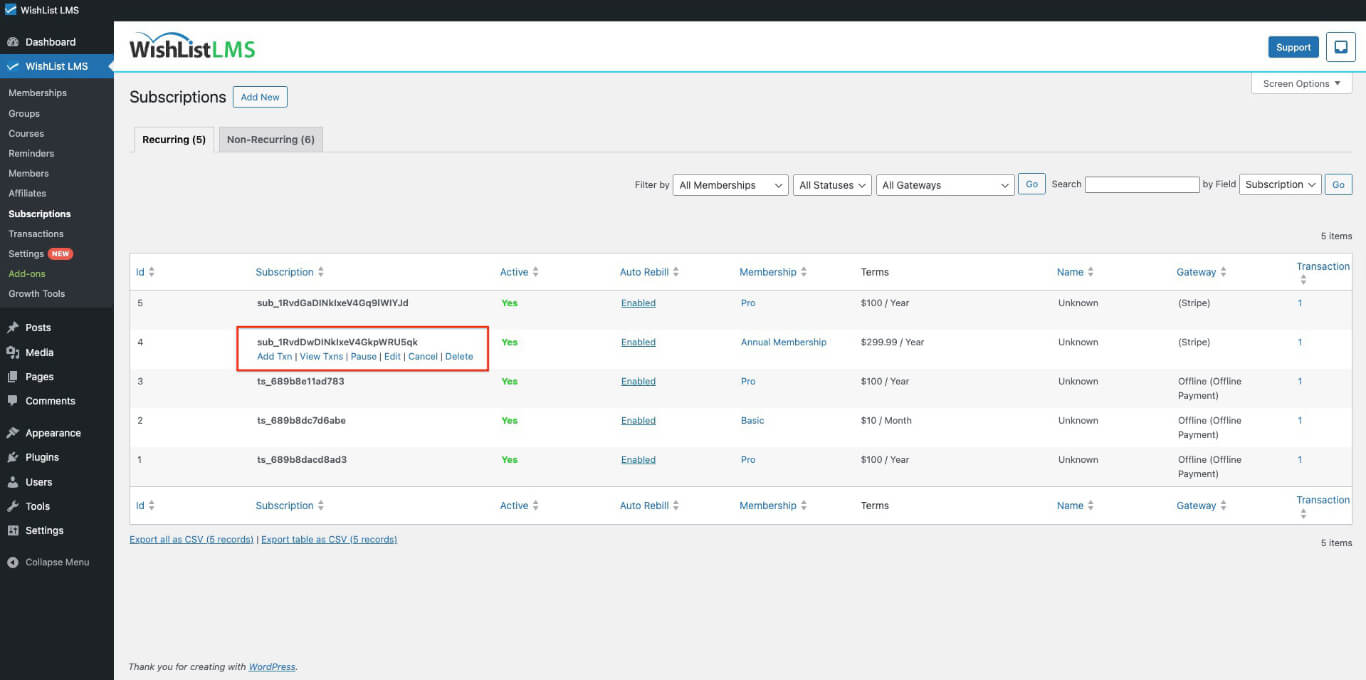
- Hover over the unique Subscription ID in the Subscription column.
- Verify the correct subscription before proceeding.
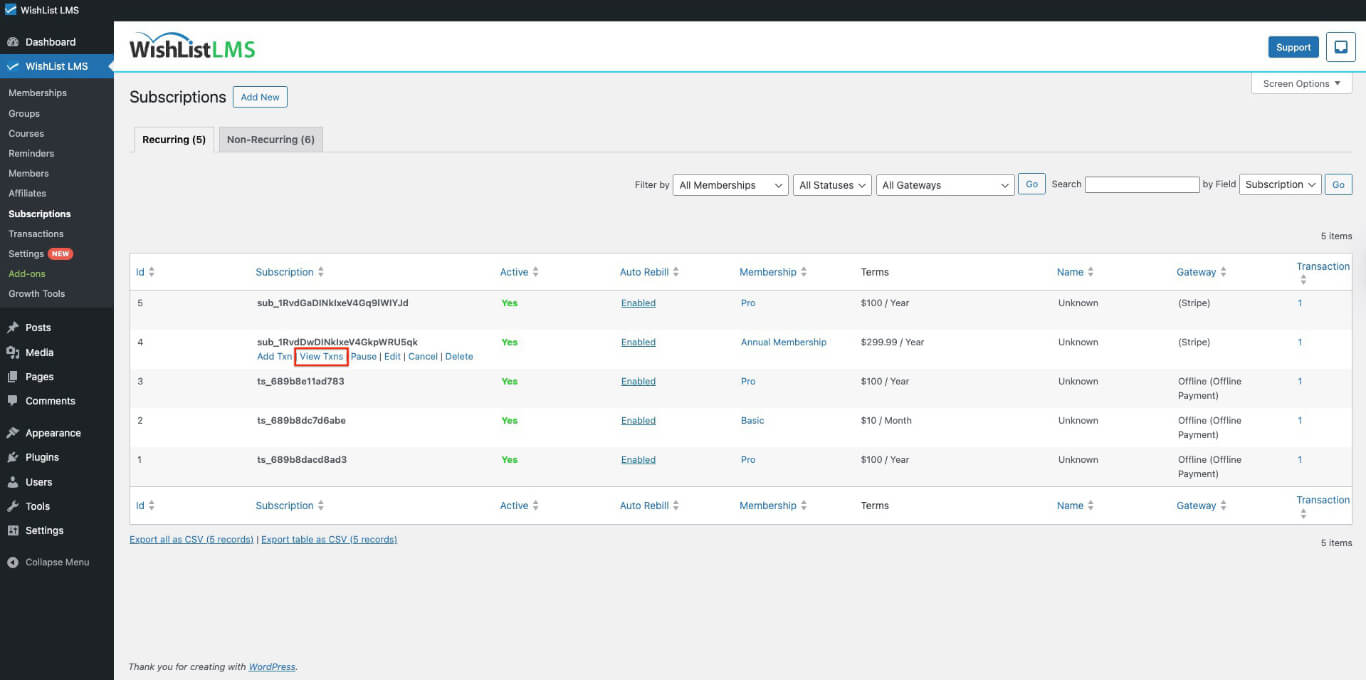
- Click the View Txns link.
- Hover over the Transaction ID in the Transactions column to refund.
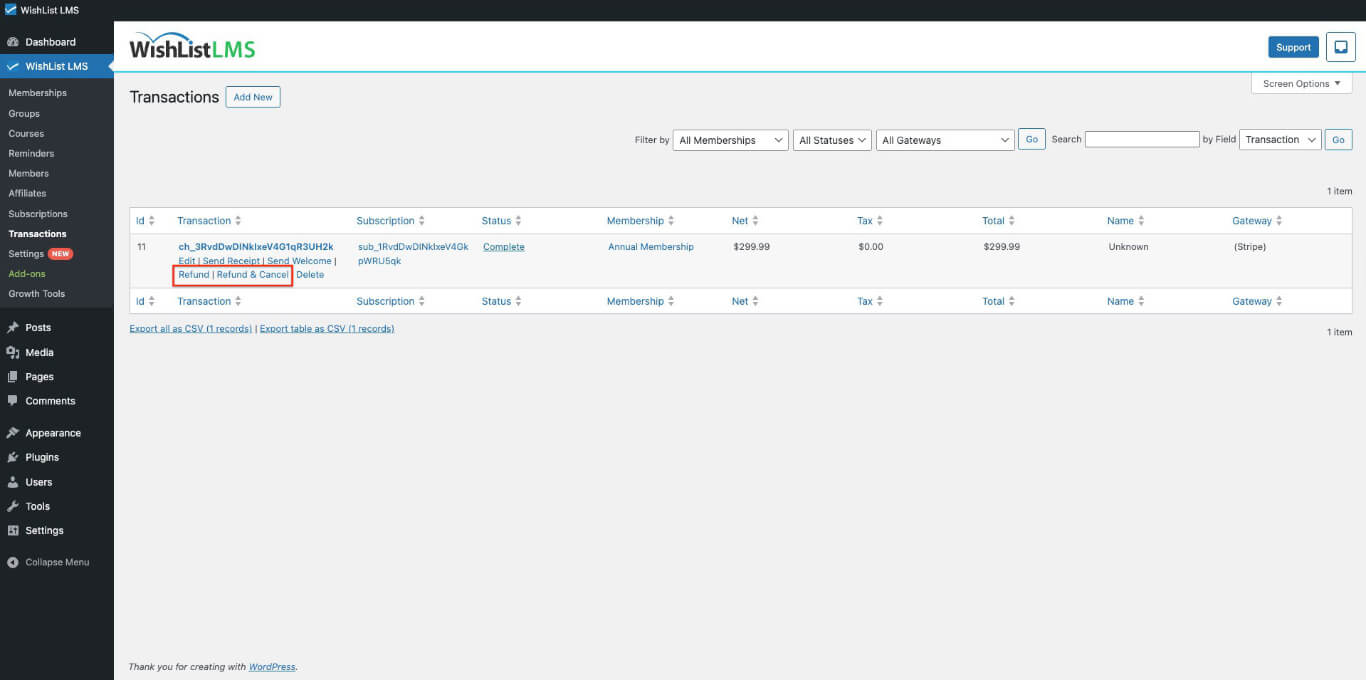
- Click the Refund link.
- Click OK on the confirmation pop-up after verifying the correct transaction.
Processing Refunds Through the Transactions Page
Use this method to refund one-time transactions not part of automatic subscriptions.
- Navigate to Dashboard > WishList LMS > Transactions.
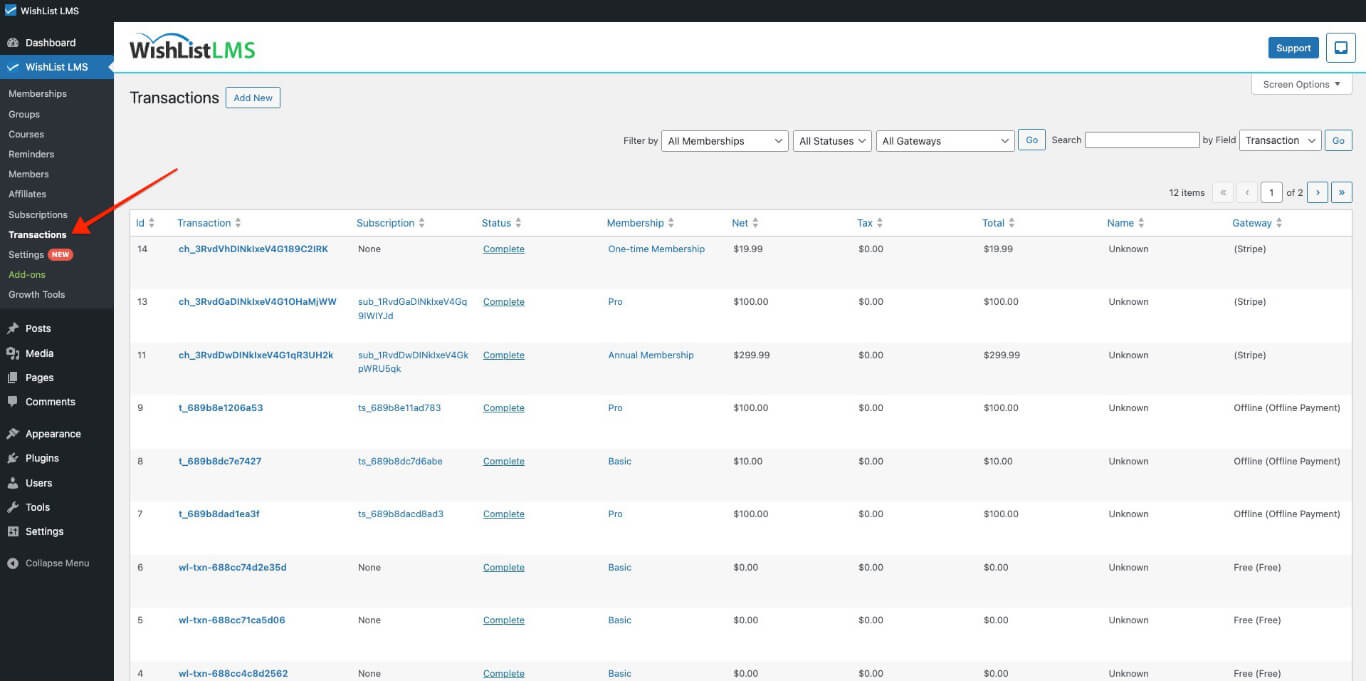
- Search for the transaction using the search tool or browse the list.
- Hover over the unique Transaction ID in the Transaction column.
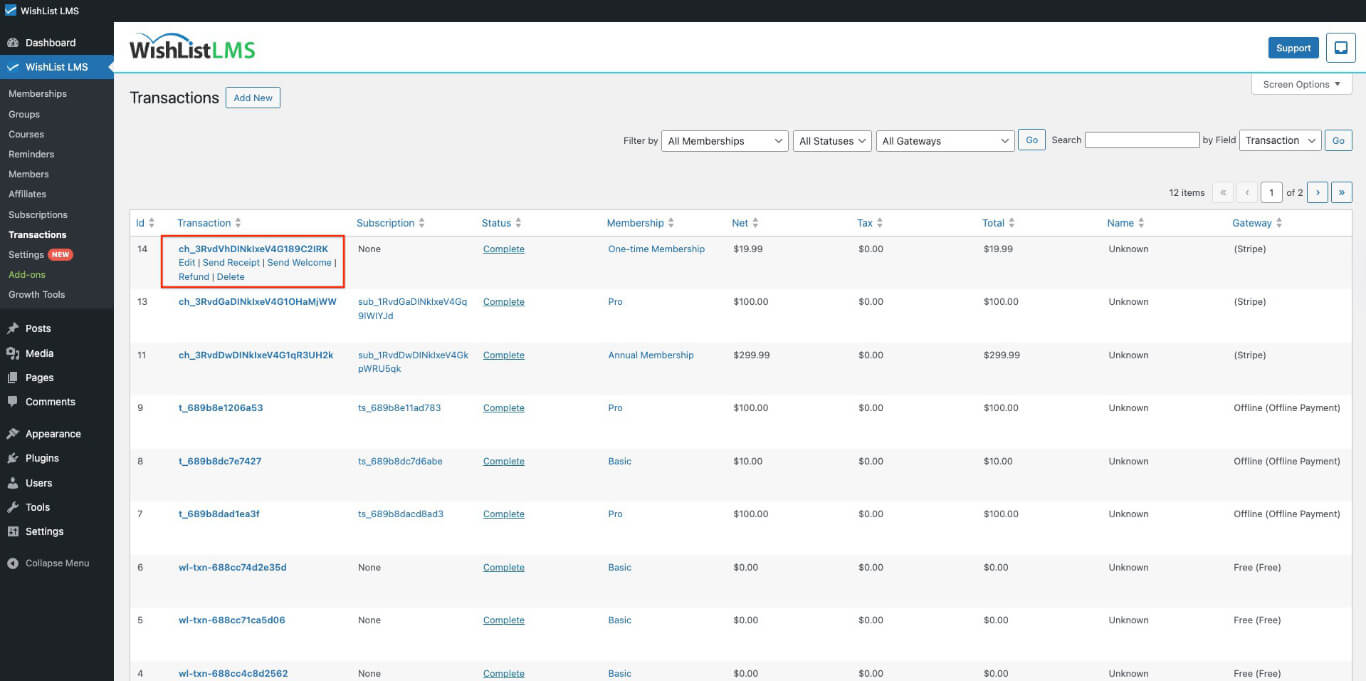
- Verify the correct transaction before proceeding (this process cannot be reversed).
- Click the Refund link.
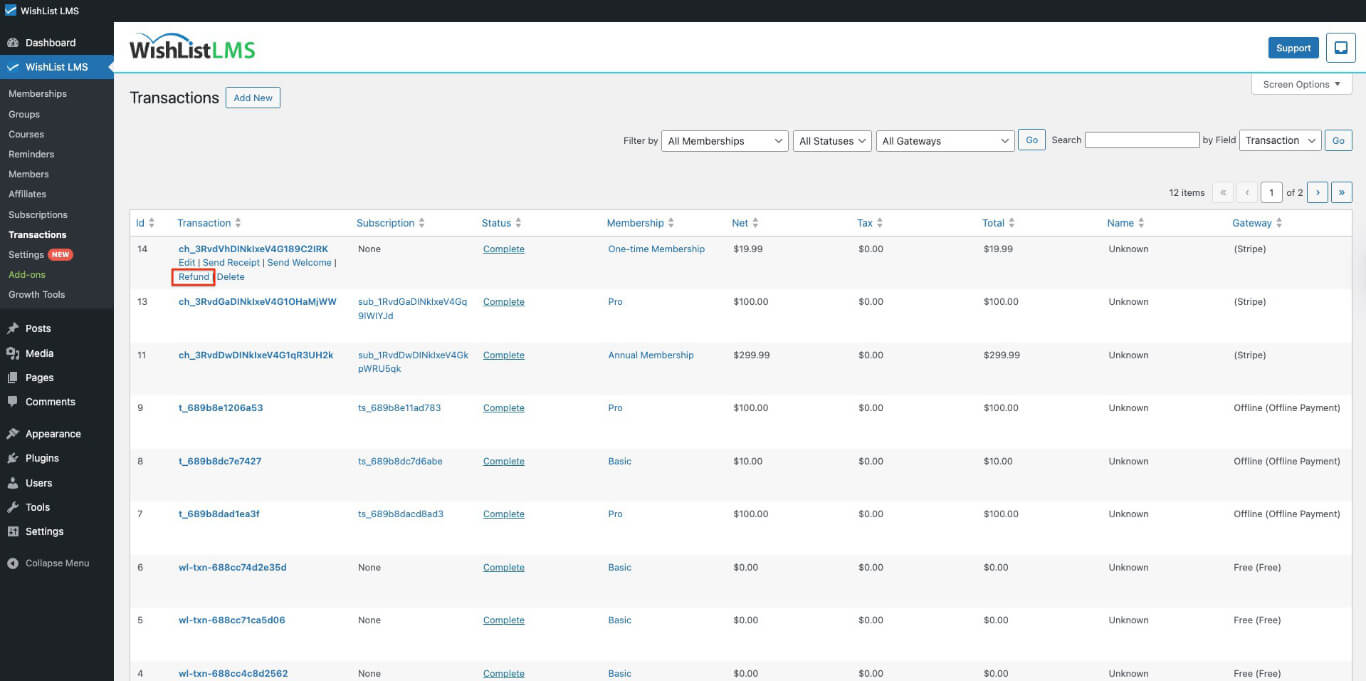
- Click OK on the confirmation pop-up after verifying the correct transaction.
Technical Requirements
The payment gateway must be configured correctly for refunds to process successfully.
- Stripe Gateway: Stripe integrates with WishList LMS to automatically process refunds when properly configured. Ensure your Stripe account is connected and verified.
- Offline Gateway: Process refunds manually outside WishList LMS, then update the transaction status inside the dashboard to reflect the refund.
Important Considerations
Users who get a refund through WishList LMS or the payment gateway will lose access to the content. The status will change to Refunded, and they won’t be able to see the content anymore.
If you want a user to retain access even after a refund, manually change the refunded transaction’s status back to Complete. Navigate to Dashboard > WishList LMS > Transactions, locate the refunded transaction, and update its status.