Students join WishList LMS courses by opening a course and starting to learn. Enrolling in courses is simple if they are open. Protected courses need users to register first.
This guide explains how to enroll students in courses using WishList LMS.
How To Enroll Students in WishList LMS Courses
WishList LMS offers different ways for students to enroll in courses.
When a course is created on the WishList LMS, it is available to everyone, whether they are logged in or not. You only need to create a course to make it accessible to the public.
You can charge or offer free access to courses before students enroll. WishList LMS controls who can see the courses by using memberships and protection settings. To limit access to only registered members, whether they paid or not, you need to protect the courses with WishList LMS protection settings.
Enrolling Students via Direct URL or Course Listing Page
Once you create and publish WishList LMS courses, users can enroll. To make a course visible on the Course Listing page, select the “Include in Course Listing” option when creating it.
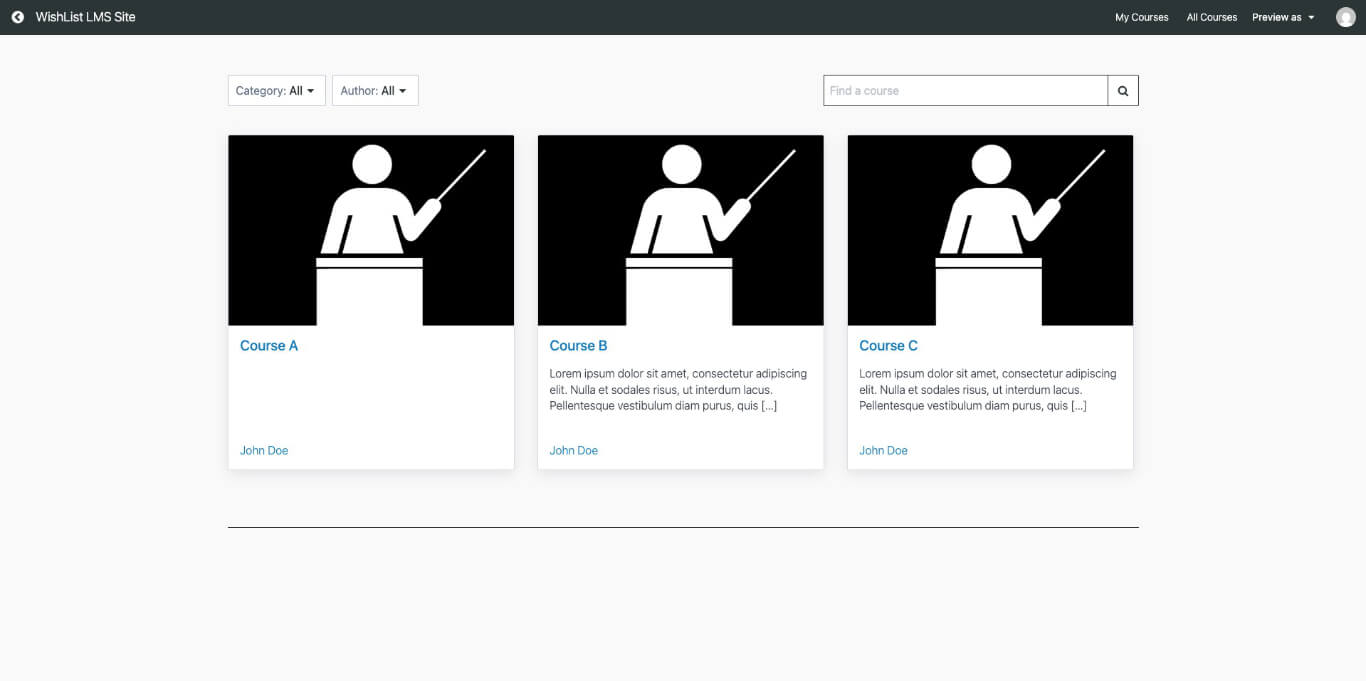
The Course Listing page displays all public courses on the site for members to discover. By default, this page uses the /courses slug (e.g. https://yoursite.com/courses). Users click on their preferred course on this page to enroll.
Users can sign up for courses by clicking on the course link, such as in emails. If the course isn’t listed, the only way to enroll is through the direct link.
Students can see their courses on the My Courses page after logging in. All available courses are shown based on their subscriptions. The My Courses link is always in the courses menu.
Note: The My Courses page slug is /courses/?type=mycourses
Requiring Registration To Enroll
Users need to register and log in to access protected courses. Once logged in, members can see all courses for their membership.
Protection settings should be made for every course that requires membership, whether it’s free or paid. When setting these options, only allow access to users who have active subscriptions to the specific memberships.
For example, to keep “Course A” safe, ensure you have selected the membership from each course’s settings; the settings would look like this:
- Navigate to Dashboard > WL Courses and locate the course.
- Edit the course and find the Access Protection settings panel at the bottom.
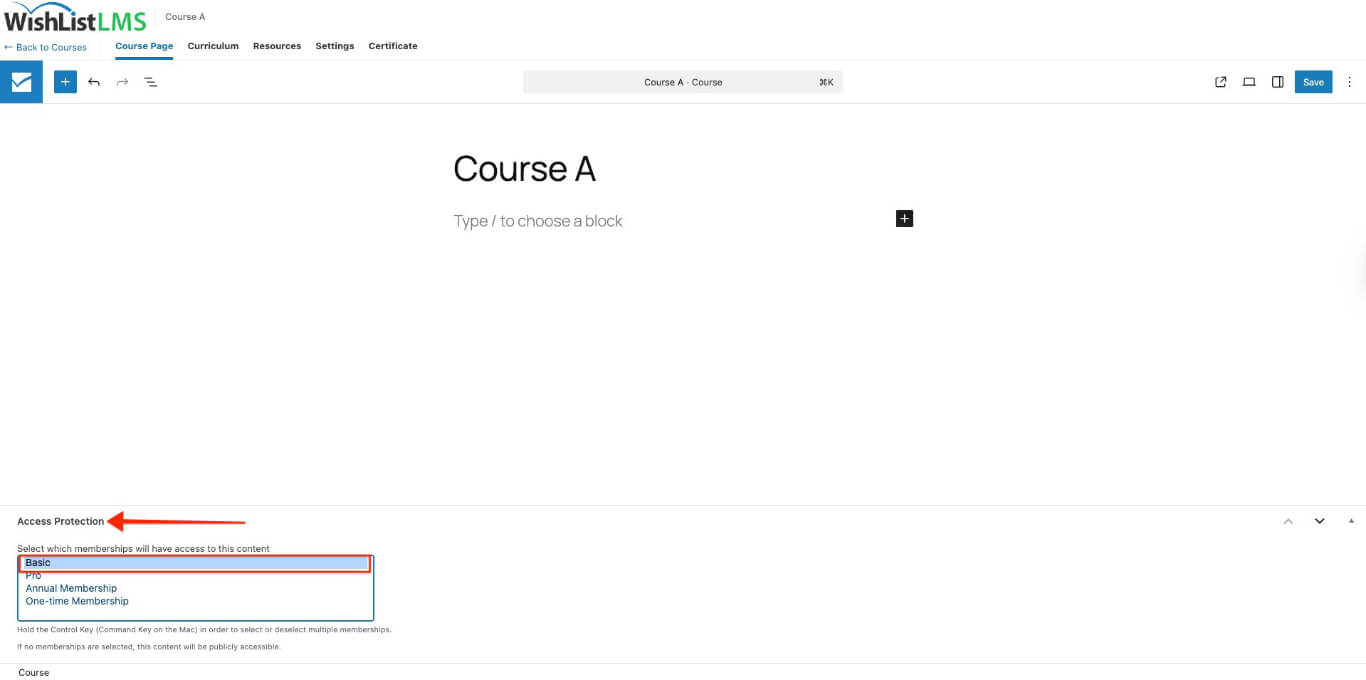
- Choose which membership grants access to this course.
- Update the course to save the protection settings.
This approach redirects users to register for the required membership or prompts immediate login.
You can replace the default unauthorized message and login form for protected courses. Navigate to Dashboard > WishList LMS > Settings > Pages tab to edit the global unauthorized message, redirect URL, or login form display options used across all protected content.
Sales Page Redirection
Users can go to the registration page by adding its URL in the Sales Page field under Settings when editing the course. Based on the previous example, the steps to add redirection would be:
- Navigate to Dashboard > WL Courses and find the course (in this example, Course A).
- Edit the course and click on the Settings tab.
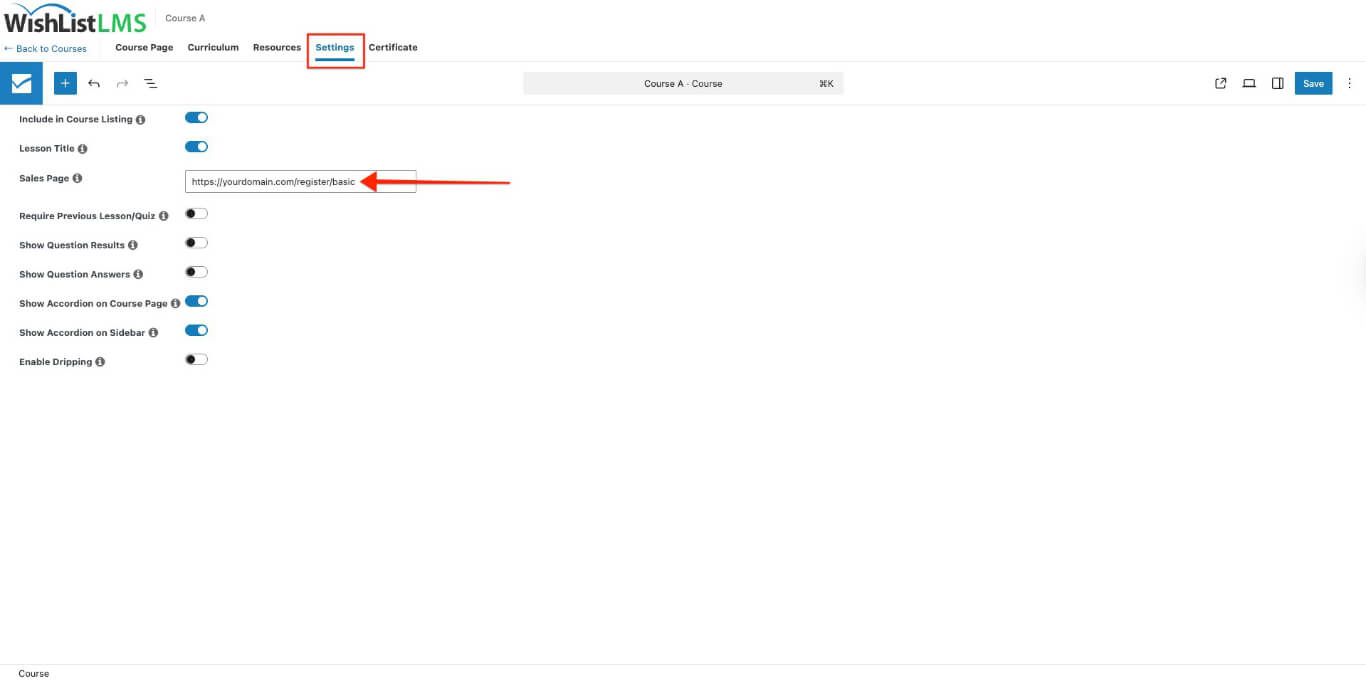
- Add the URL of the Membership A registration page to the Sales Page field.
- Click the Update button to save changes.
When someone who is not authorized tries to access the course, WishList LMS takes them to the registration page.