Creating memberships is the key part of any membership website with WishList LMS. They decide what users buy, how much they pay, and how long they can see the content.
This document explains how to create and set up memberships in WishList LMS. It shows how to define purchase options, pricing, access time, and content permissions. It also covers different pricing models, subscription types, trial periods, and group page display options.
Understanding WishList LMS Memberships
A WishList LMS membership is a subscription that users can buy. It includes the price, how long it lasts, when it renews, and what content the user can access.
Memberships are like WordPress pages. They show on your website and tell visitors about the benefits of each subscription level.
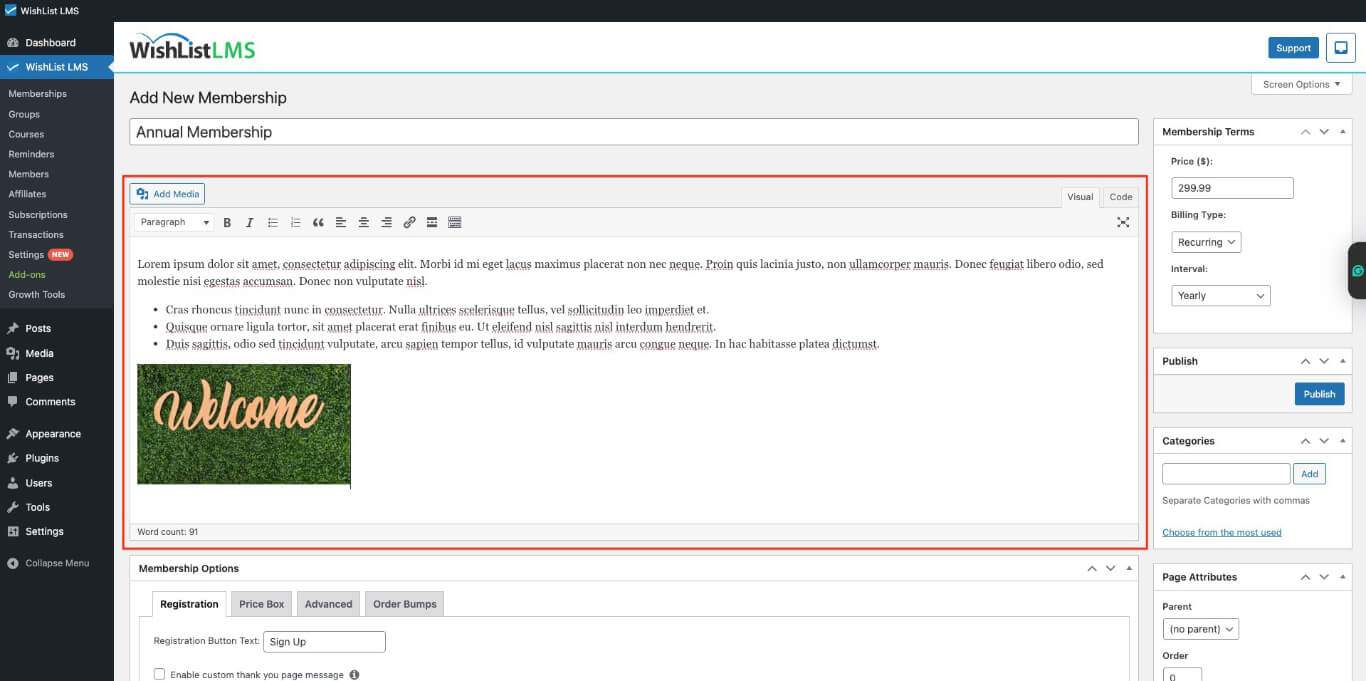
Creating a New Membership
Creating a membership in WishList LMS is like making a page or post in WordPress. It involves some important setup steps.
Setting Up Basic Membership Information
- Navigate to Dashboard > WishList LMS > Memberships.
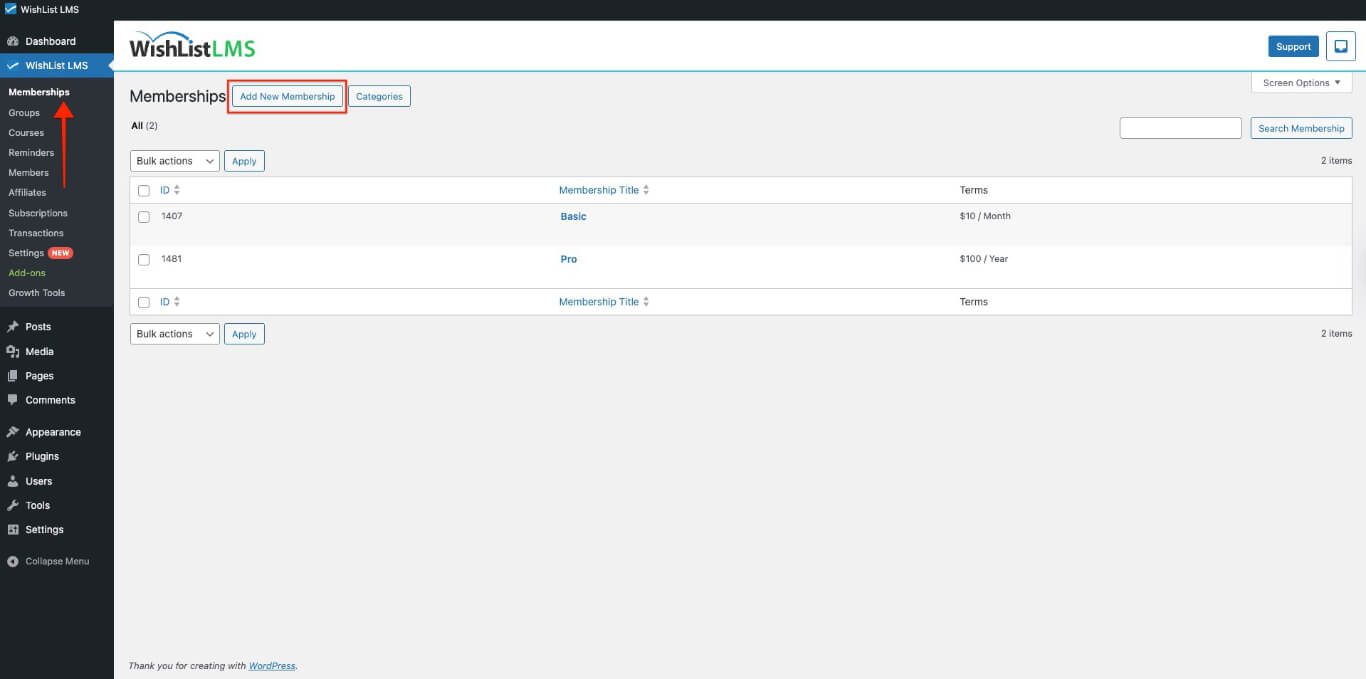
- Click the Add New Membership button.
- Enter a Title for the membership in the title field.
Configuring Membership Pricing and Terms
The pricing section explains how much users pay and how often.
- Locate the Membership Terms section on the right side of the content editor.
- Set the Price for the membership in the price field.
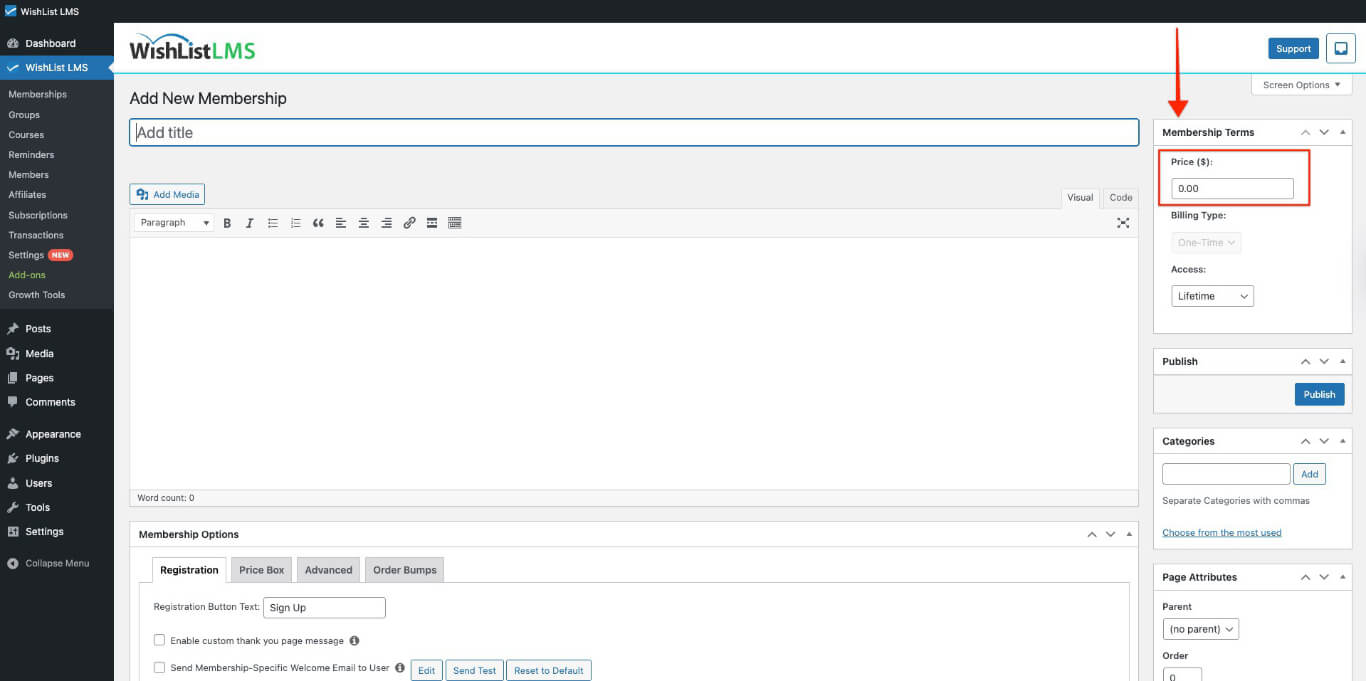
- Choose the Billing Type from the available options:
- One-Time: Single payment for a defined access period
- Recurring: Automatic renewal at specified intervals
One-Time Payment Options
For one-time payments, configure the access duration:
- Add the price for the membership.

- Select One-Time as the billing type.
- Choose either Lifetime or Expire period from the Access dropdown menu.
- Available options include:
- Lifetime: Always has access, never expires.
- Expire: Set your own number of days, weeks, months, or years.
- Fixed Expire Date: Choose a specific calendar date when access ends for all members with this membership.

Recurring Subscription Options
Set how often to bill for subscriptions:
- Add the price for the membership
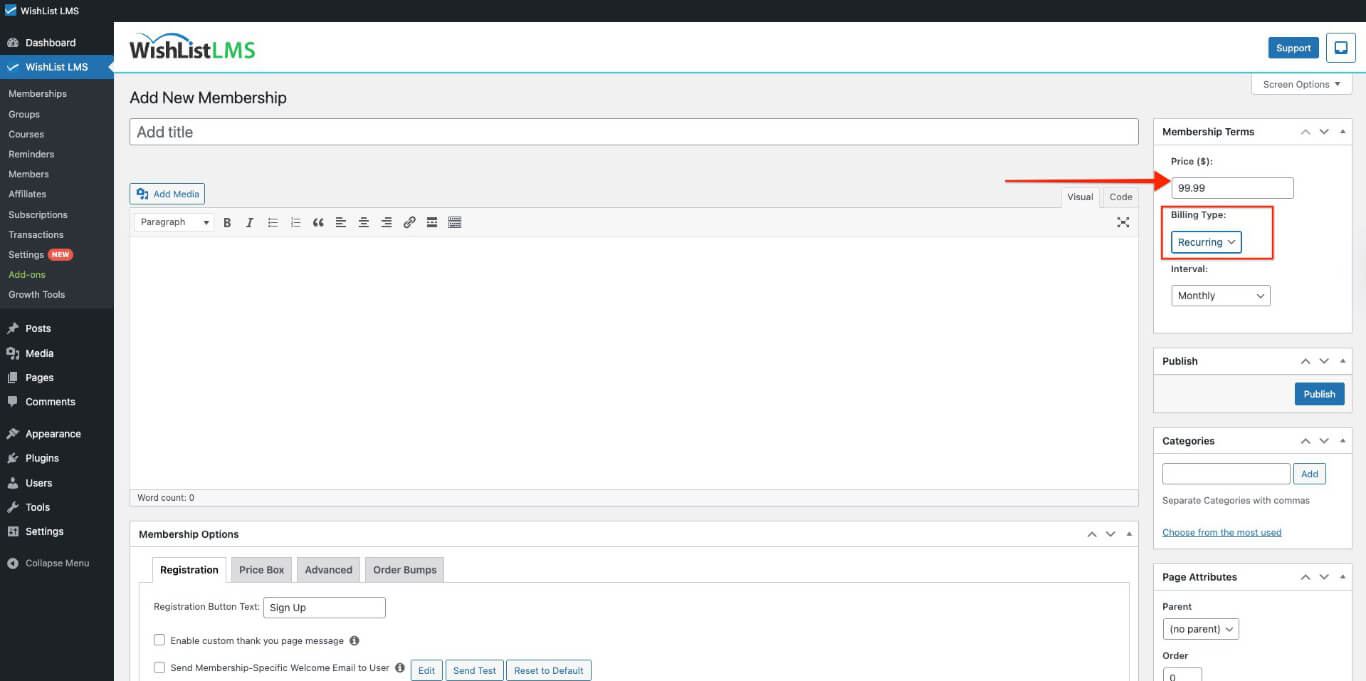
- Select Recurring as the billing type.
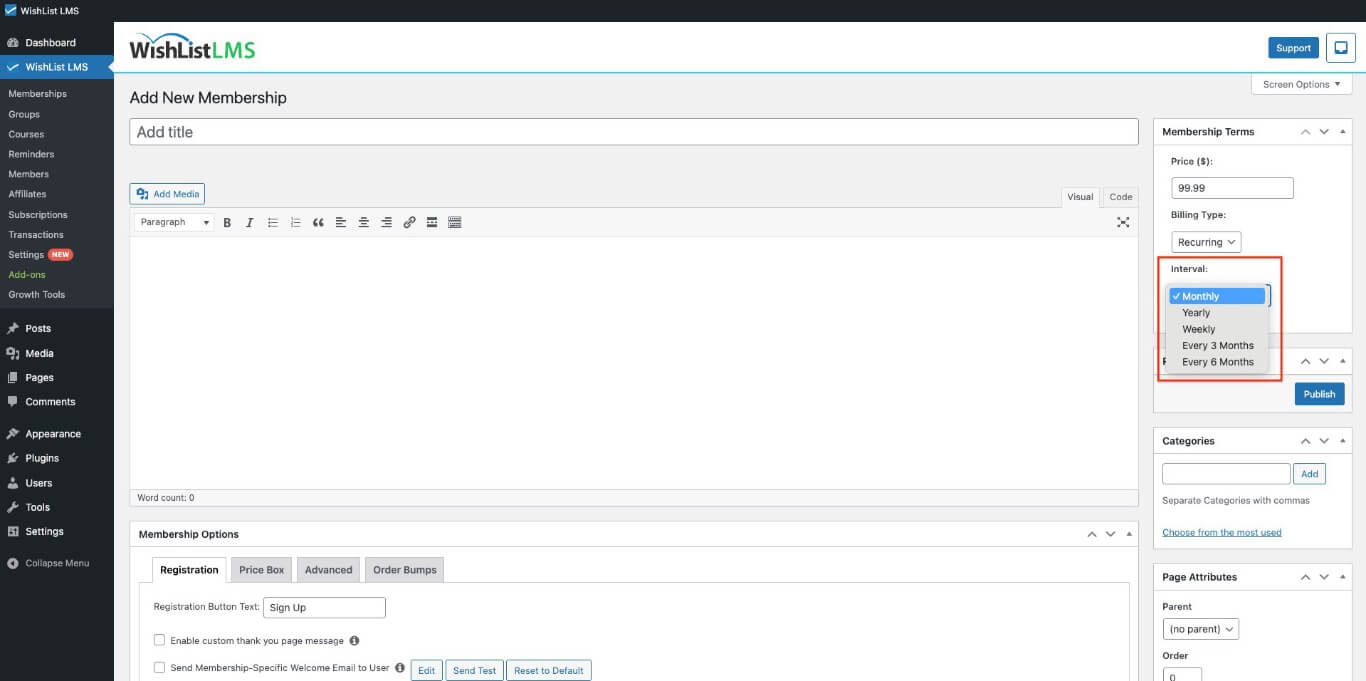
- Choose the Interval for automatic renewals:
- Weekly: Charged every week
- Monthly: Charged every month (with options for every 3 or 6 months)
- Yearly: Charged annually
- Custom: Any length of weeks or months
Trial Periods
Trial periods let members sample a recurring membership before full billing begins. Trials can be free or discounted and run for a defined number of days.
- Enable the Trial Period option on a recurring membership.
- Set the number of Trial Days before full billing starts.
- Set the Trial Amount to zero for a free trial, or a discounted amount for a paid trial.
- Enable Allow Only One Trial to prevent members from reusing trials across multiple signups.
Who Can Purchase
The Who Can Purchase setting controls access to the membership registration page. Use this option to restrict purchases based on existing membership status.
- Everyone: Any visitor can purchase this membership, regardless of existing subscriptions.
- Guests: Only logged-out visitors can purchase. Existing members will not see the registration page.
- Members Who Have Purchased [Another Membership]: Restricts this membership to current subscribers of a specified membership. Use this option to create exclusive upgrade or add-on memberships.
Creating Membership Content
The content area explains the membership benefits and encourages visitors to sign up.
- Use the WordPress editor to add text and images.
- Show the main benefits and features of membership.
Configuring Group Display Options
If you want to organize memberships into groups, set up how they look on group pages.
Publishing the Membership
After configuring all membership settings:
- Review all settings for accuracy.
- Click the Publish button to make the membership available.
- WishList LMS automatically creates a registration page for the membership.
The registration page URL is https://yourdomain.com/register/membership-name. Users can go here to buy a membership.