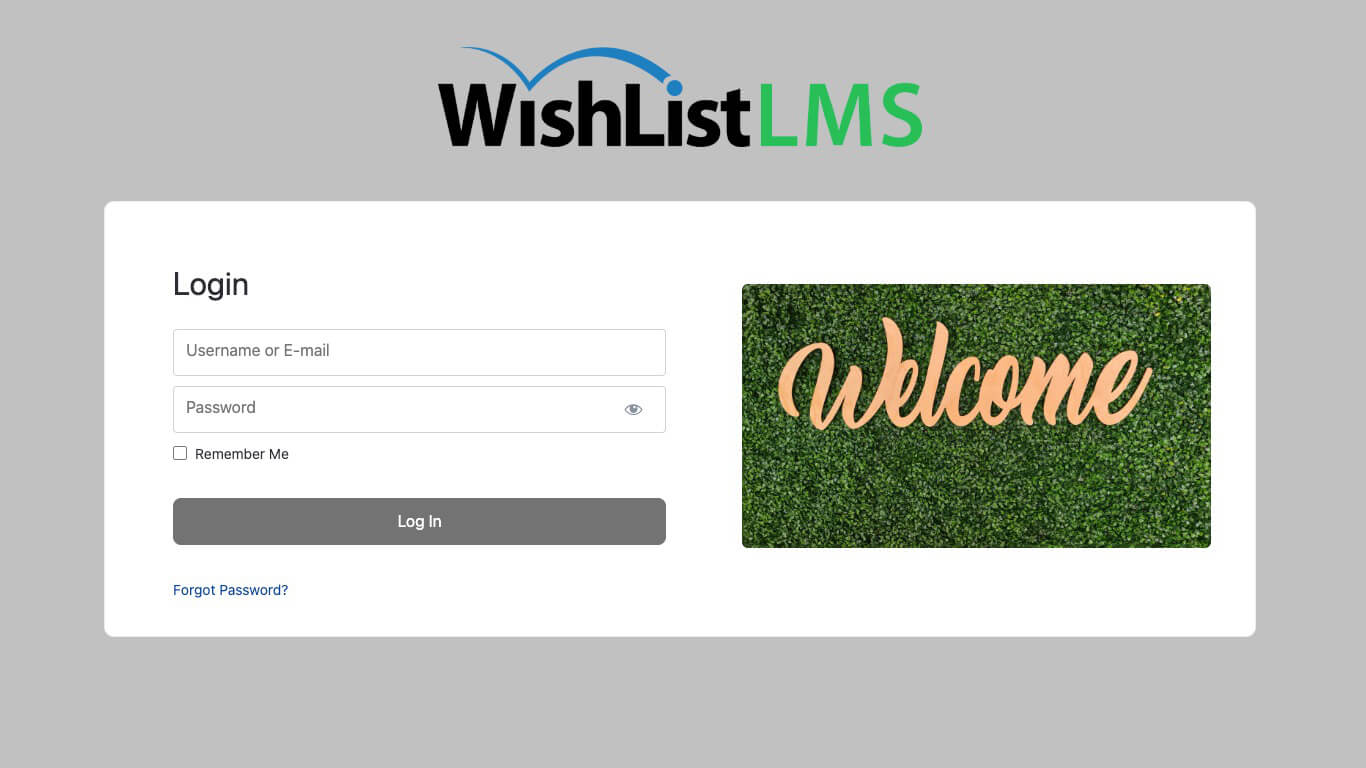
The WishList LMS comes with the LaunchPad™ Login Page template, which is turned on by default. LaunchPad™ offers a modern, branded login page that you can customize to match your site design.
This guide explains how to customize the login page with the LaunchPad™ template, turn it off if needed, and add login options to custom pages using blocks and shortcodes.
Customize the LaunchPad™ Login Page Template
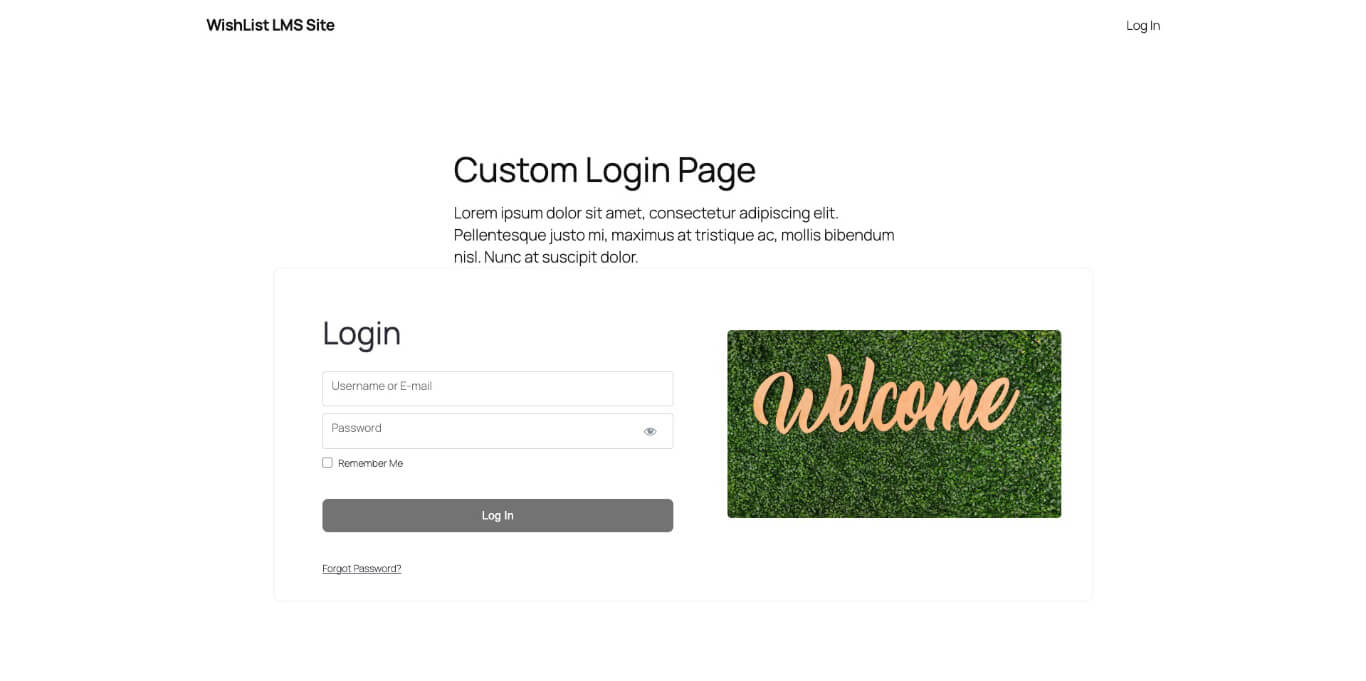
The background uses the LaunchPad™ Design Settings. The system sets your brand color for the whole page, with the login form on top. The logo appears above the form.
You can add a welcome image to the login page. It can be a logo, photo, or illustration.
Adding a Welcome Image
- Navigate to Dashboard > WishList LMS > Settings.
- Click the LaunchPad™ tab.
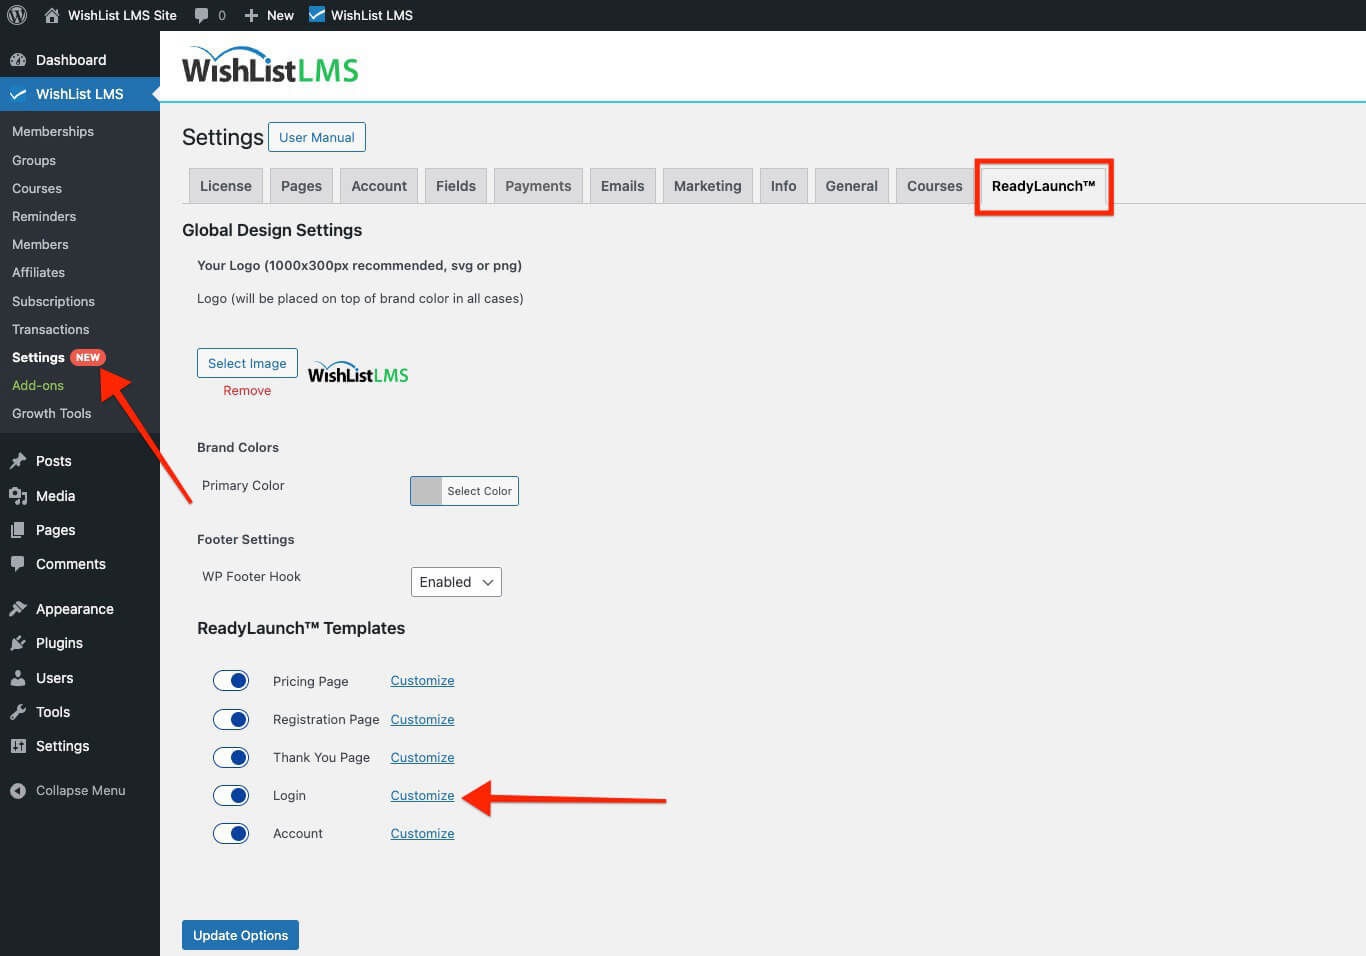
- Next to the Login option, click the Customize link.
- Toggle on the Show Welcome Image option in the popup.
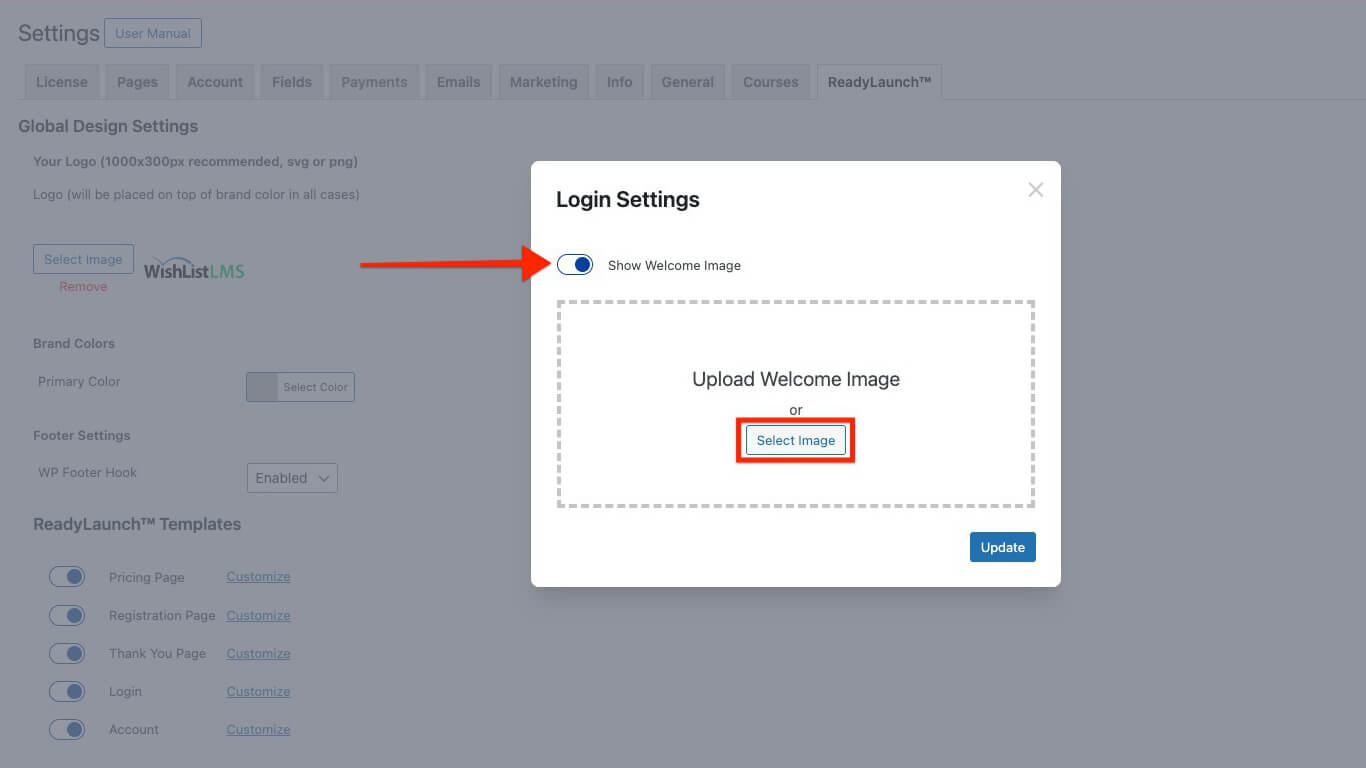
- Click the Select Image button.
- Choose your welcome image from the media library.
- Click Update to apply the changes to your login page.
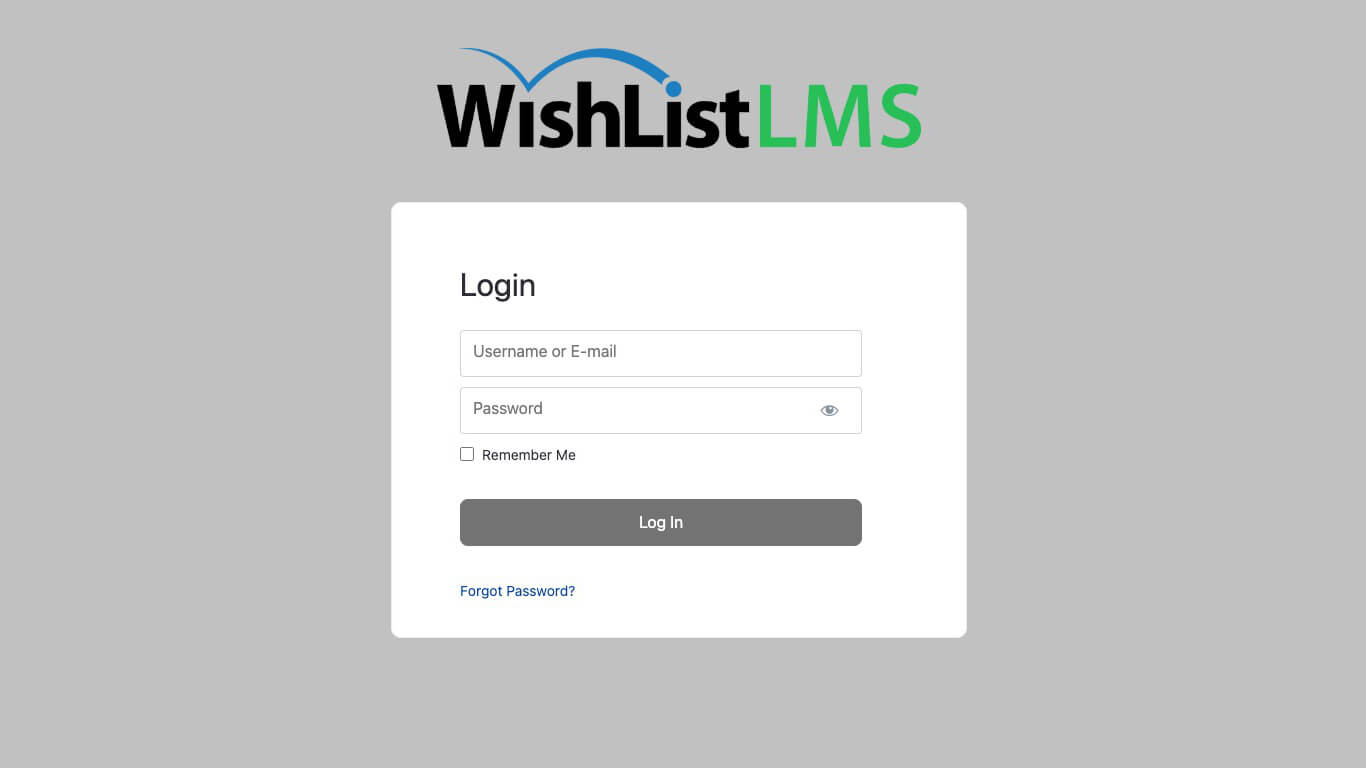
Deactivate LaunchPad™ Login Page Template
To use the classic WishList LMS login page, deactivate the LaunchPad™ template.
- Navigate to Dashboard > WishList LMS > Settings.
- Click the LaunchPad™ tab.
- Toggle the Login option off.
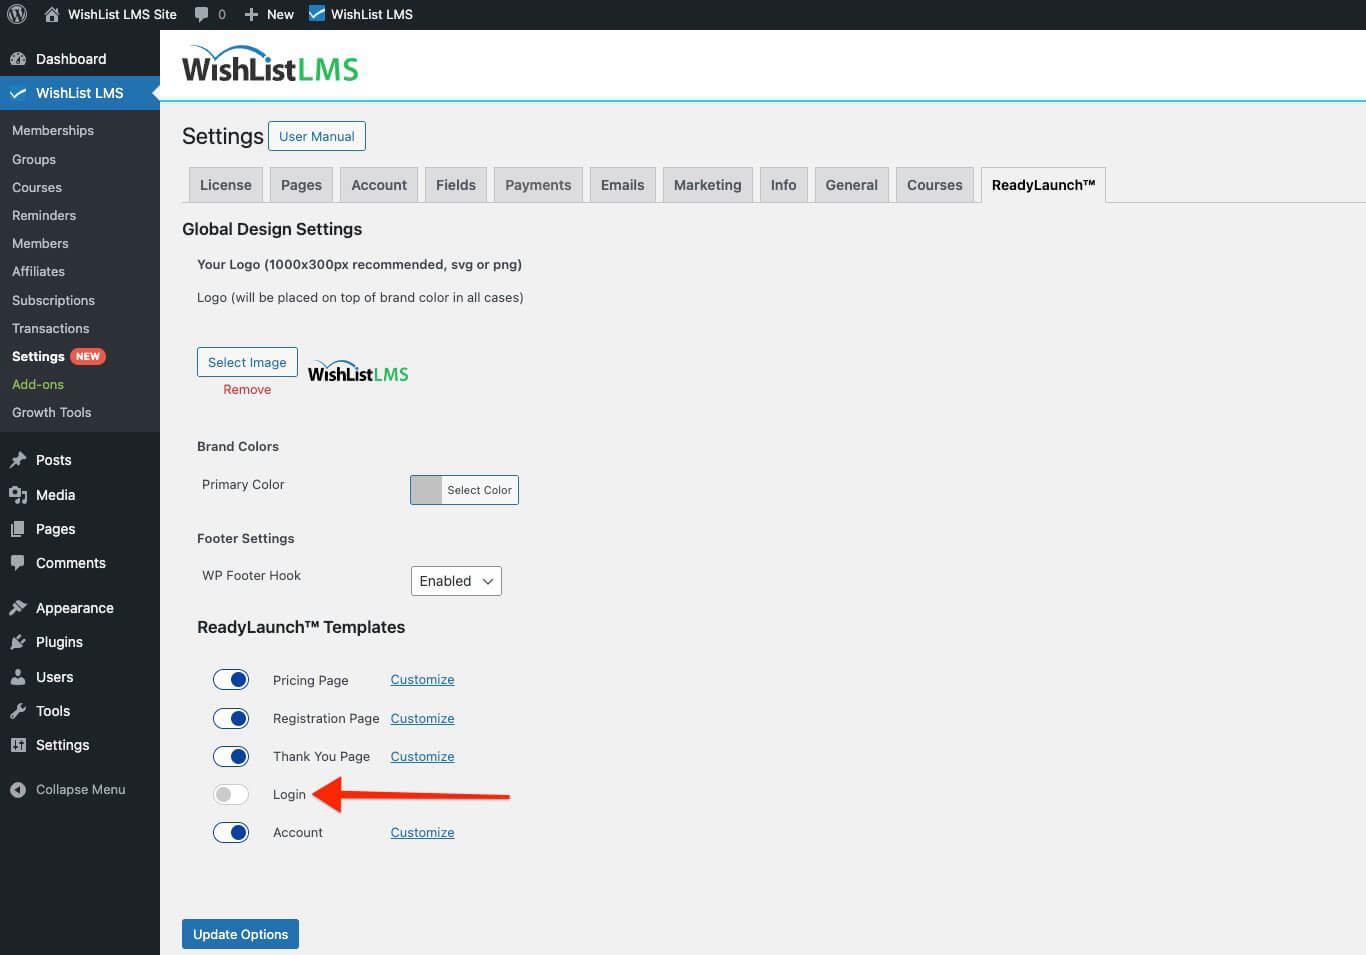
This change returns your site to the classic login page design.
Adding the Login Template to Custom Pages
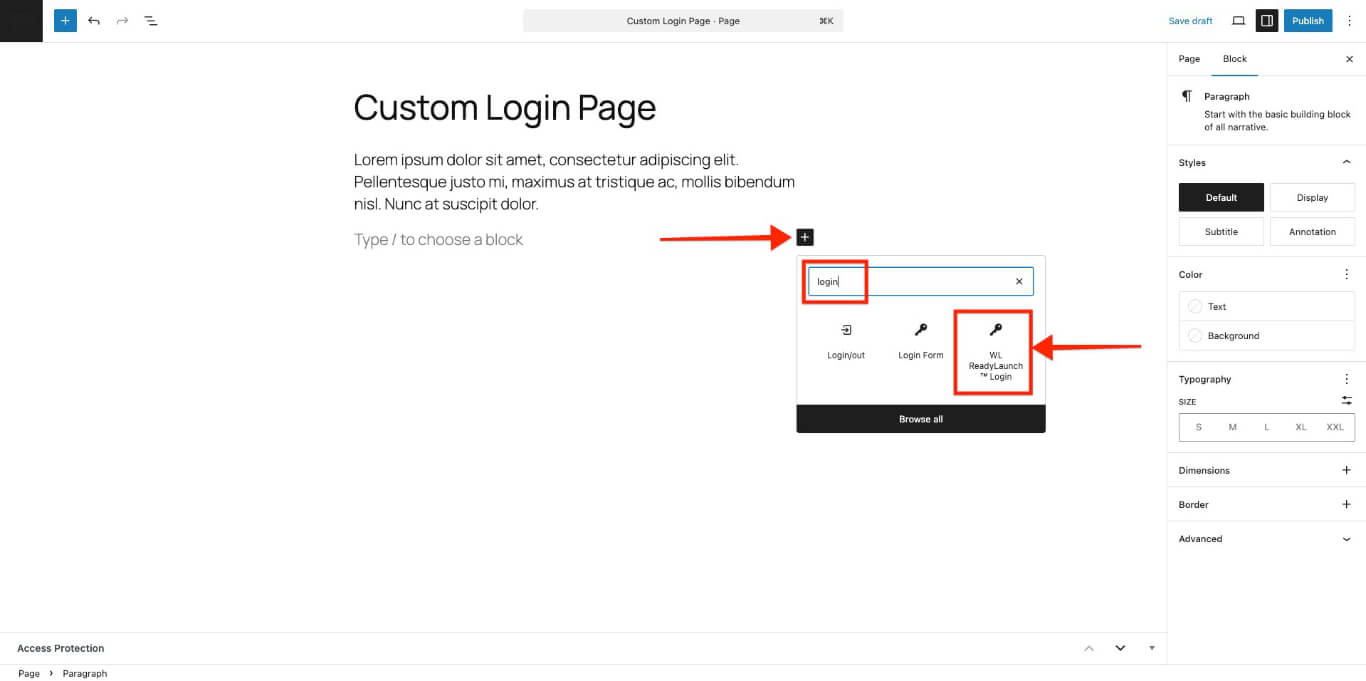
Using the WordPress Block editor, you can add the LaunchPad™ Login template to any page or post.
- Open the Block editor on the page you want to edit.
- Click the “+” icon to open the block inserter.
- Search for LaunchPad™ Login in the block list.
- Click the block to add it to your page.
LaunchPad™ Login Block Options
The LaunchPad™ Login block offers these additional options:
- Show Welcome Image: Enable this option to show the welcome image set in Dashboard > WishList LMS > Settings > LaunchPad™ tab;
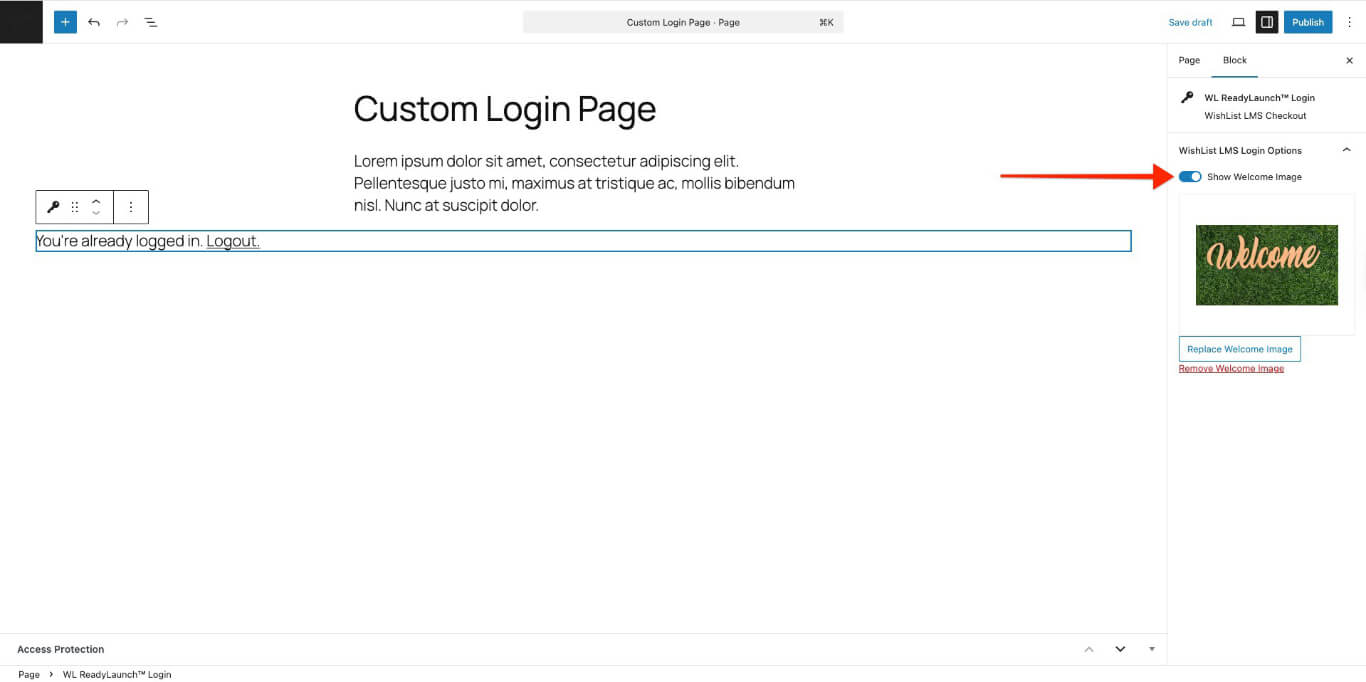
This method lets you create custom login pages with extra content, using your site header and footer. The LaunchPad™ template fits into your page’s content area.
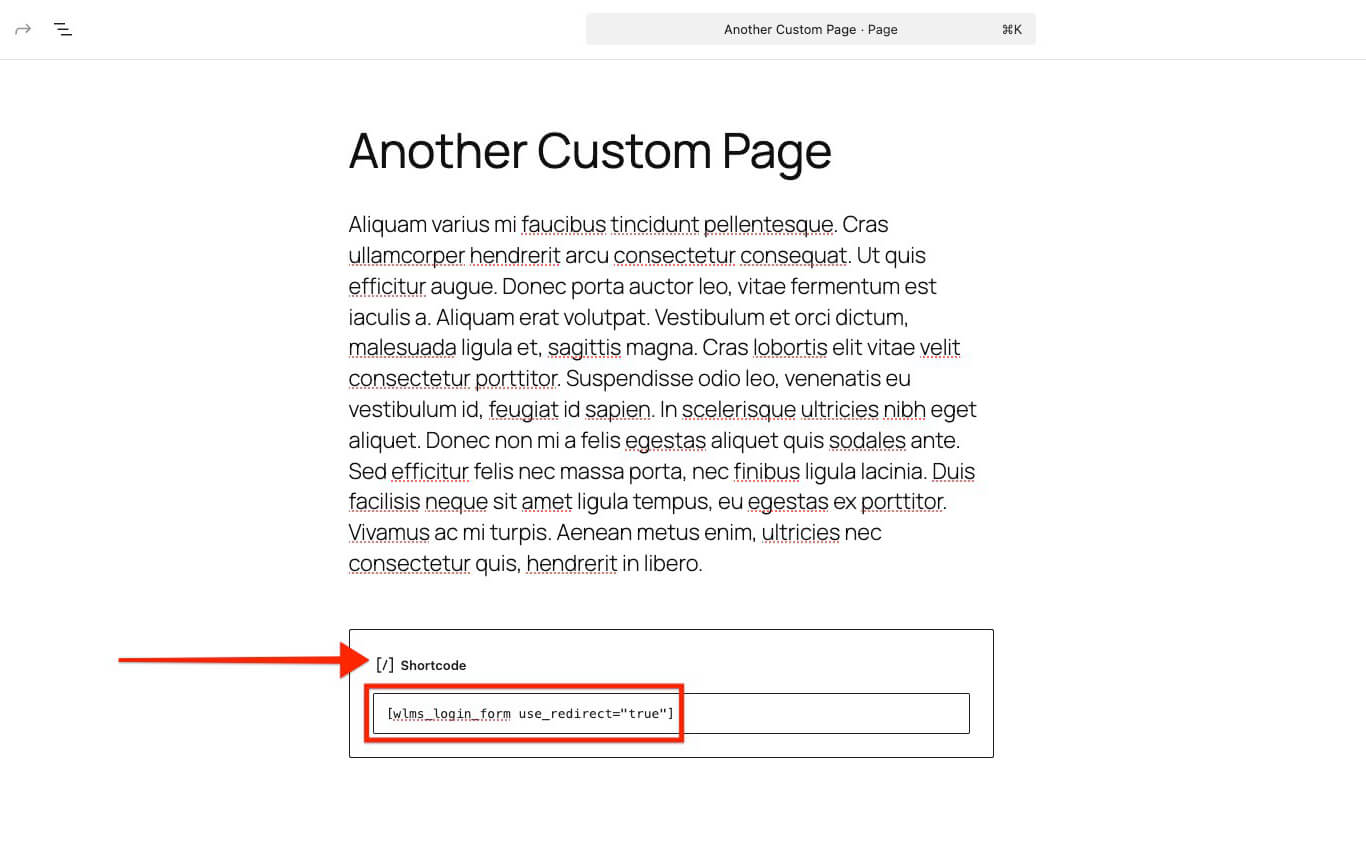
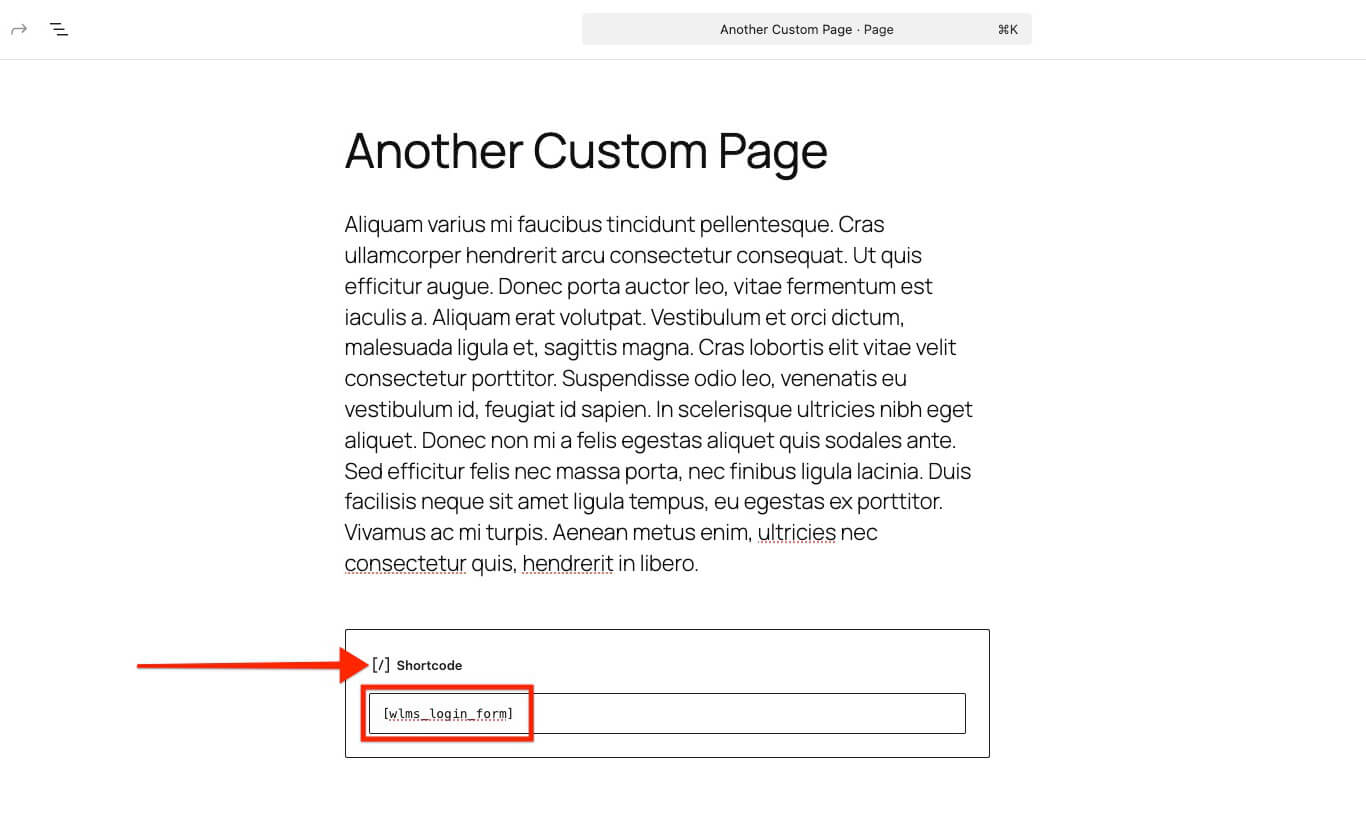
Using Shortcodes
The LaunchPad™ Login template cannot be used on custom pages that contain WishList LMS login shortcodes.
Use the classic login form with these shortcodes to create a custom login page that looks like WishList LMS.
Basic Login Form
Use the redirection shortcode on any page with a WordPress shortcode block.
Login Form with Redirection
Use the redirection shortcode after setting up login redirection.