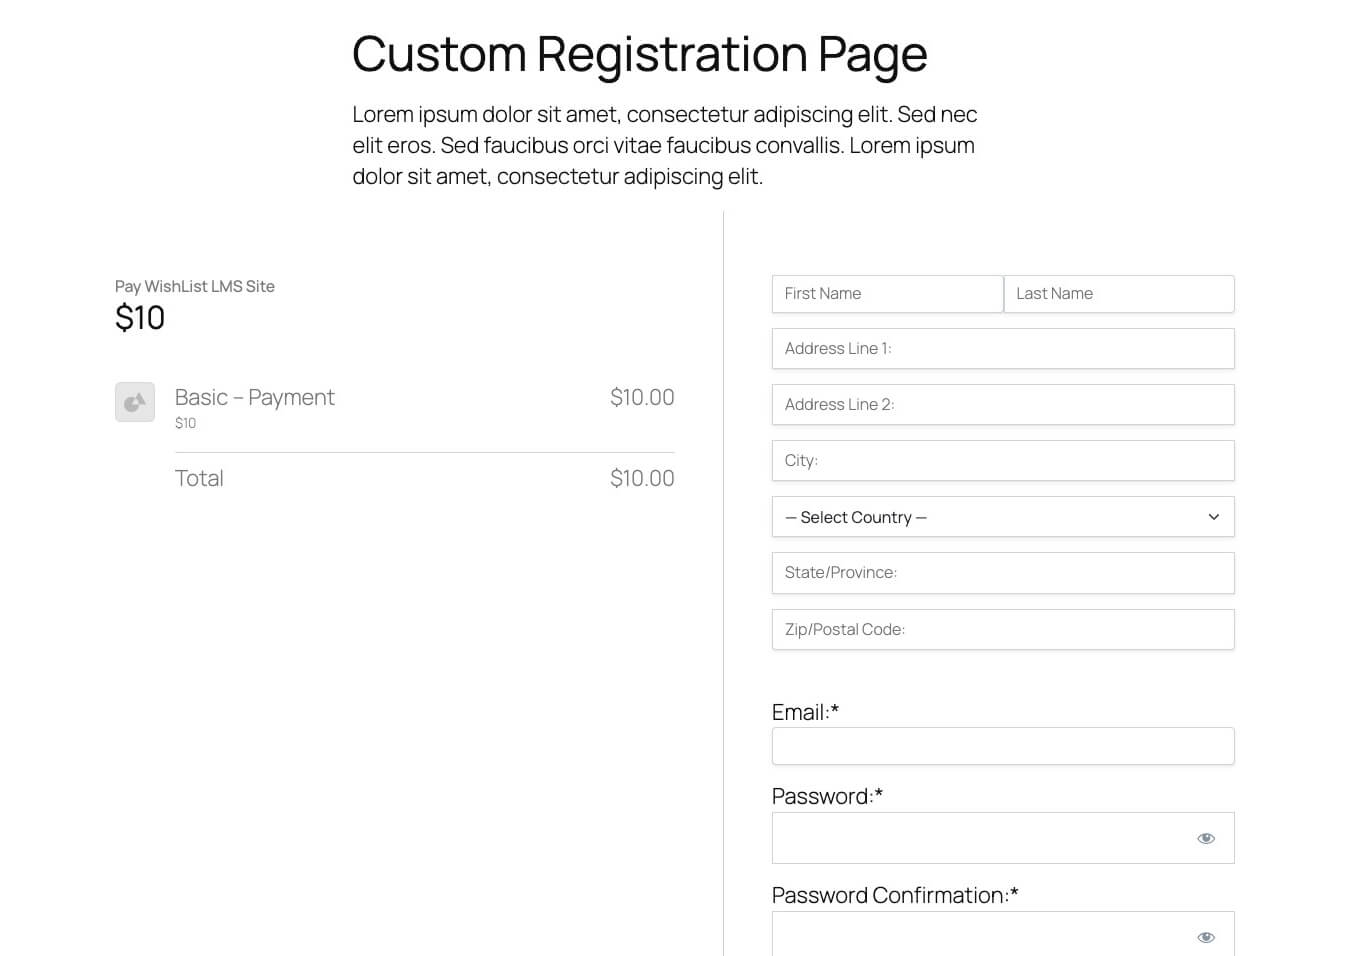
The LaunchPad™ Registration template makes signing up easier with WishList LMS. It combines registration, purchase details, and checkout on one simple page. It works well on mobile devices, making the process quick and satisfying for users.
This document shows how to customize the LaunchPad™ Registration template, switch to classic pages, and add the template to your own pages.
Understanding LaunchPad™ Registration Template
The LaunchPad™ Registration template comes with WishList LMS and is turned on automatically for new installations.
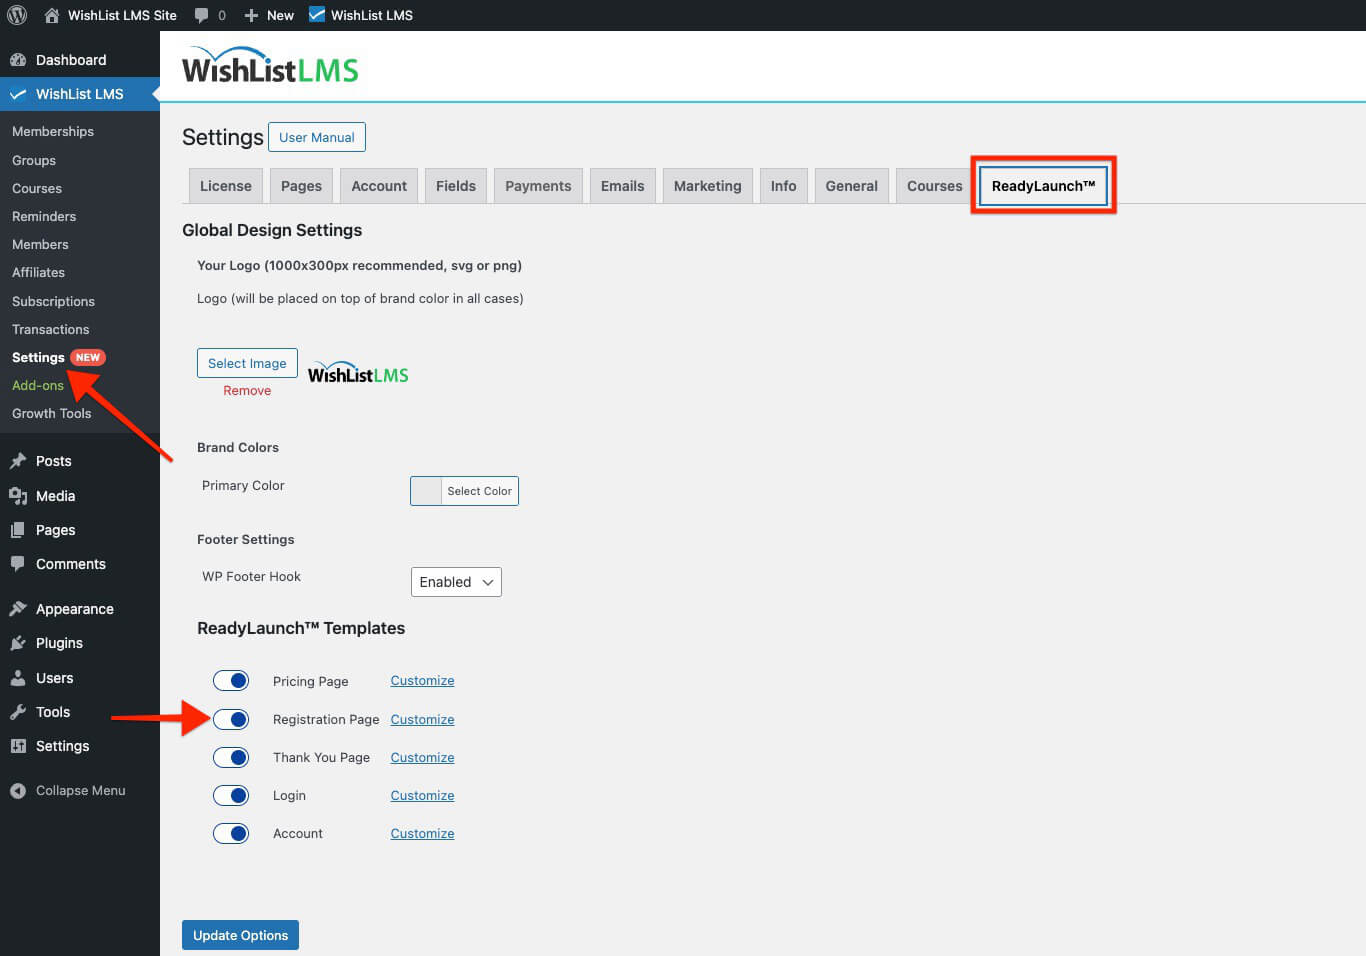
You can access these settings through
- Dashboard > WishList LMS > Settings.
- Cliquez sur le bouton LaunchPad™ tab.
Key Features
The LaunchPad™ Registration template has many benefits compared to regular registration pages. For example:
- Single-page checkout: Everything (registration, purchase summary, payment) happens on one page;
- Full-screen design: Reduces scrolling and extra clicks;

- Distraction-free experience: Header and footer are hidden;
- Mobile responsive: Mobile-friendly design;
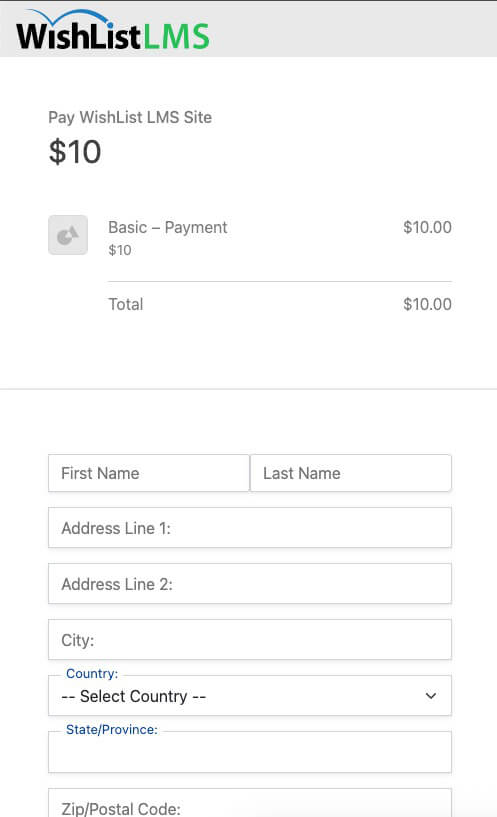
- Modern design: Modern data display with a fresh look.
Differences from Classic Pages
Classic WishList LMS has a two-step checkout. Users first register on one page, then make their payment on another page.
The LaunchPad™ template makes it easy by putting both steps on one simple page.
Deactivating LaunchPad™ Registration Template
Users who like the classic registration and checkout pages can turn off the LaunchPad™ Registration template.
Follow these steps to switch to classic registration pages:
- Go to Dashboard > WishList LMS > Settings.
- Click on the LaunchPad™ tab.
- Turn off the Registration Page option.
- Cliquez sur Update Options to save.
After deactivating the template, membership pages will use the classic WishList LMS design and a two-page checkout..
Adding Registration Template to Custom Pages
The LaunchPad™ Registration template can be added to custom pages in WordPress. This helps designers make registration pages with headers and footers that still offer a modern checkout.
Using the LaunchPad™ Registration Block
Add the registration template to any page or post using these steps:
- Open the WordPress Block Editor for the page or post.
- Cliquez sur le bouton “+” icon to access the block inserter.
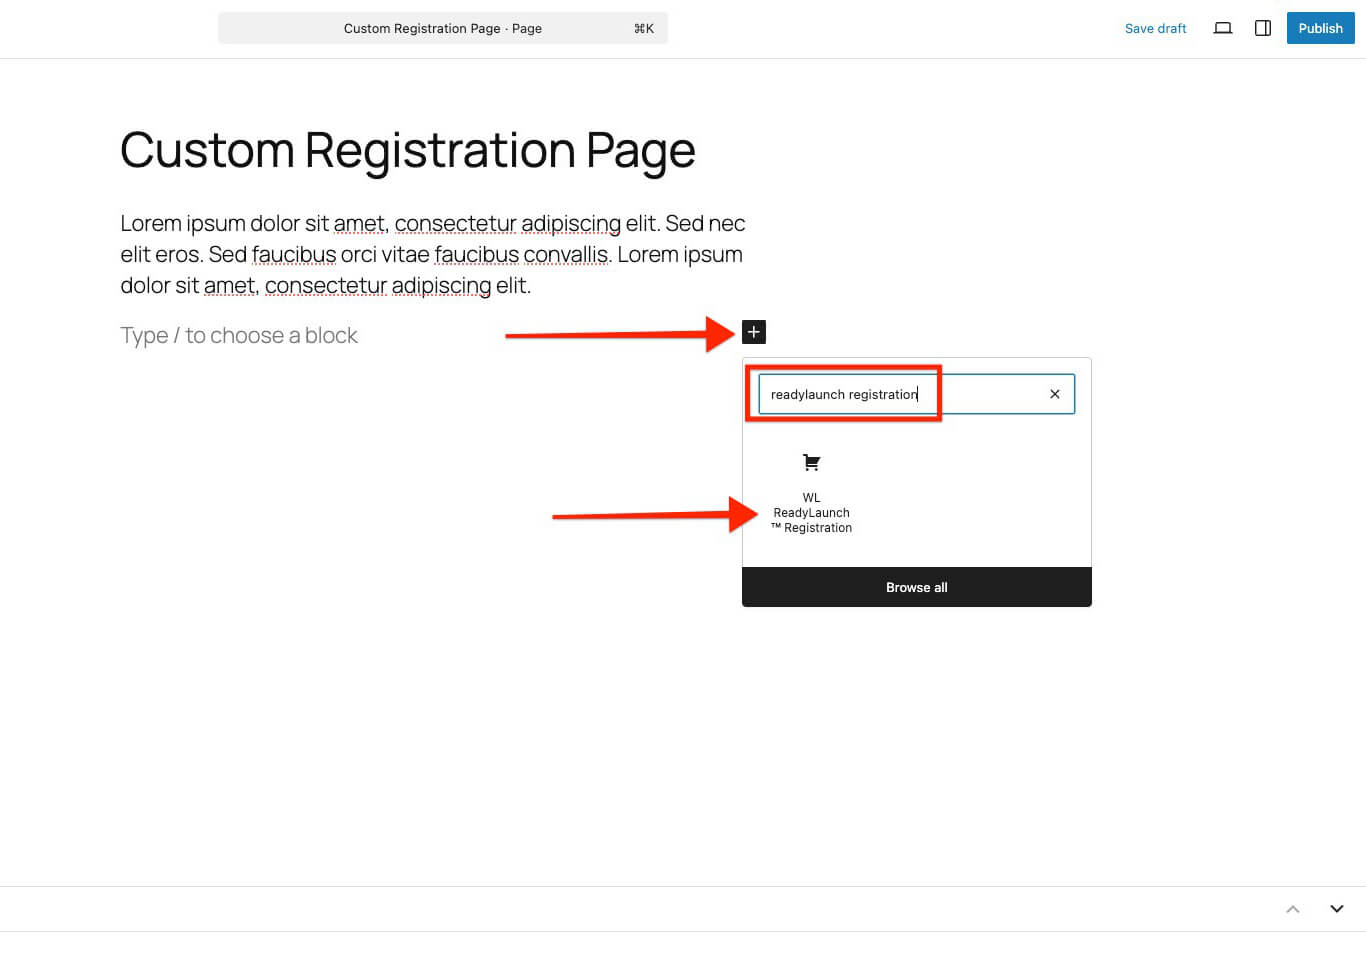
- Search for LaunchPad™ Registration in the block list.
- Click the block to add it to the page.
- In the block settings panel, click the L'adhésion dropdown.
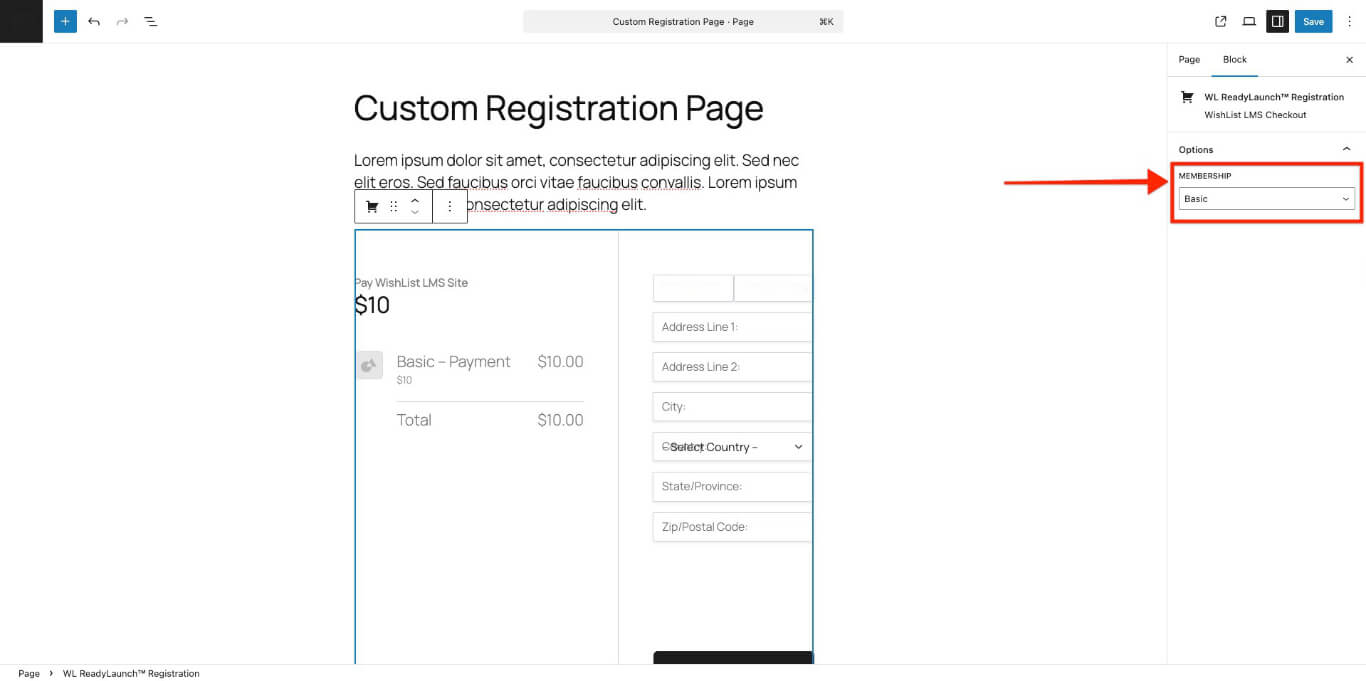
- Sélectionnez l'option WishList LMS membership for this registration block.
- Update ou Publier the page to save changes.
Shortcode Limitations
You can’t use traditional WishList LMS shortcodes to embed the LaunchPad™ Registration template. If you need registration forms with shortcodes, you should use classic registration pages.
Similarly, the LaunchPad™ Account template can’t be used with the account shortcode.