Turn your membership site into a learning platform by using the WishList LMS Courses. It helps you create and manage courses.
This document shows how to configure the WishList LMS Courses settings.
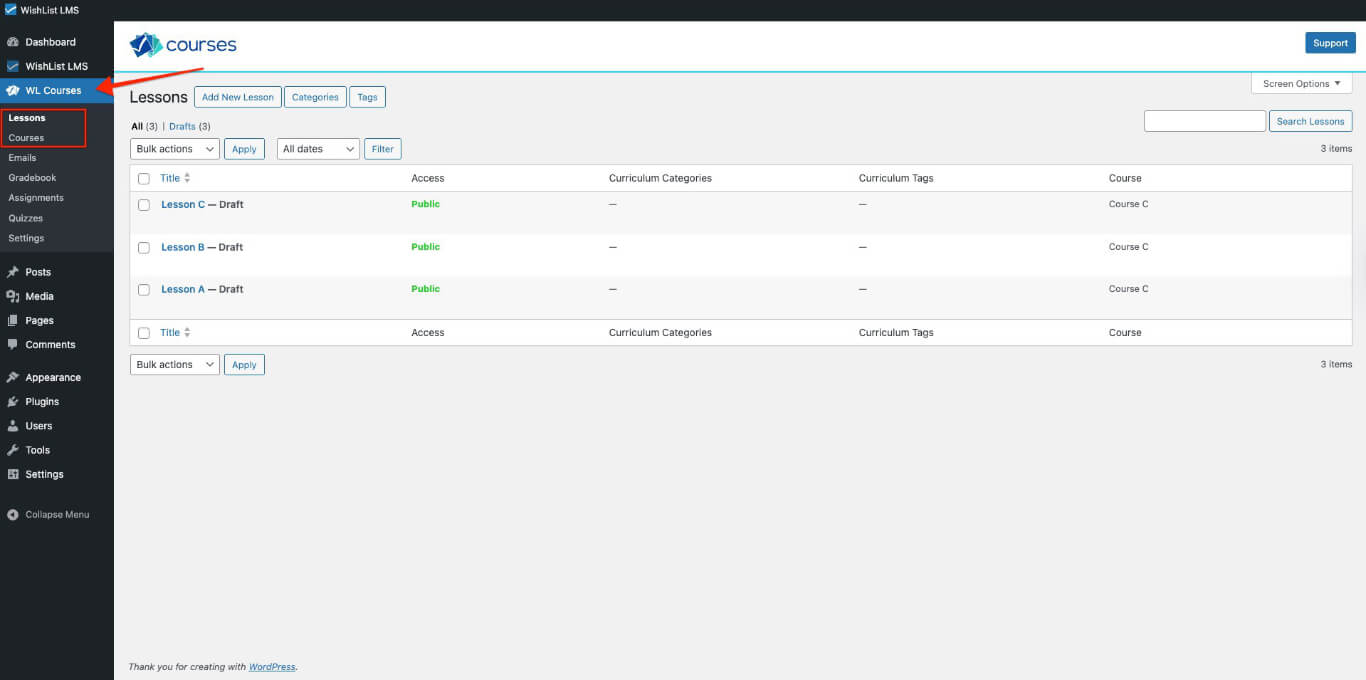
Access the WishList LMS Courses
Access the course creation tools by navigating to:
- Dashboard > WL-Kurse menu item.
- Either go to Lektionen oder Kurse.
- Begin creating your WishList LMS courses.
Global Course Settings
WishList LMS Courses has global settings that affect all courses on your website. You can find these settings by following the steps below:
- Navigieren Sie zu Dashboard > WL-Kurse.
- Wählen Sie die Einstellungen menu.
General Tab Settings
Die Allgemein section contains these configuration options:
- Show Protected Courses in Listing: This controls if protected courses show up in the Course Listing. Turn it off to hide protected courses from the public;
- Remove Instructor Link: Course instructor names usually link to their profiles. Turn this option on to hide instructor links on all pages;
- Show Comments Settings on Course and Lesson Pages: Turn on comment management for each lesson and course by activating this;
- Courses Per Page: Specify the number of courses displayed on each Course Listing page;
- Courses Sort Order: Set course sorting options: Alphabetically, Last Updated, or Publish Date. Choose ascending or descending order.

WishList LMS Courses Slug Configuration
Im Rahmen der Seite Slugs section, customize default URL slugs for course-related content:
- Classroom Slug: Default slug for courses and course listing pages is /courses;
- Lesson Slug: Default lesson slug is /lessons;
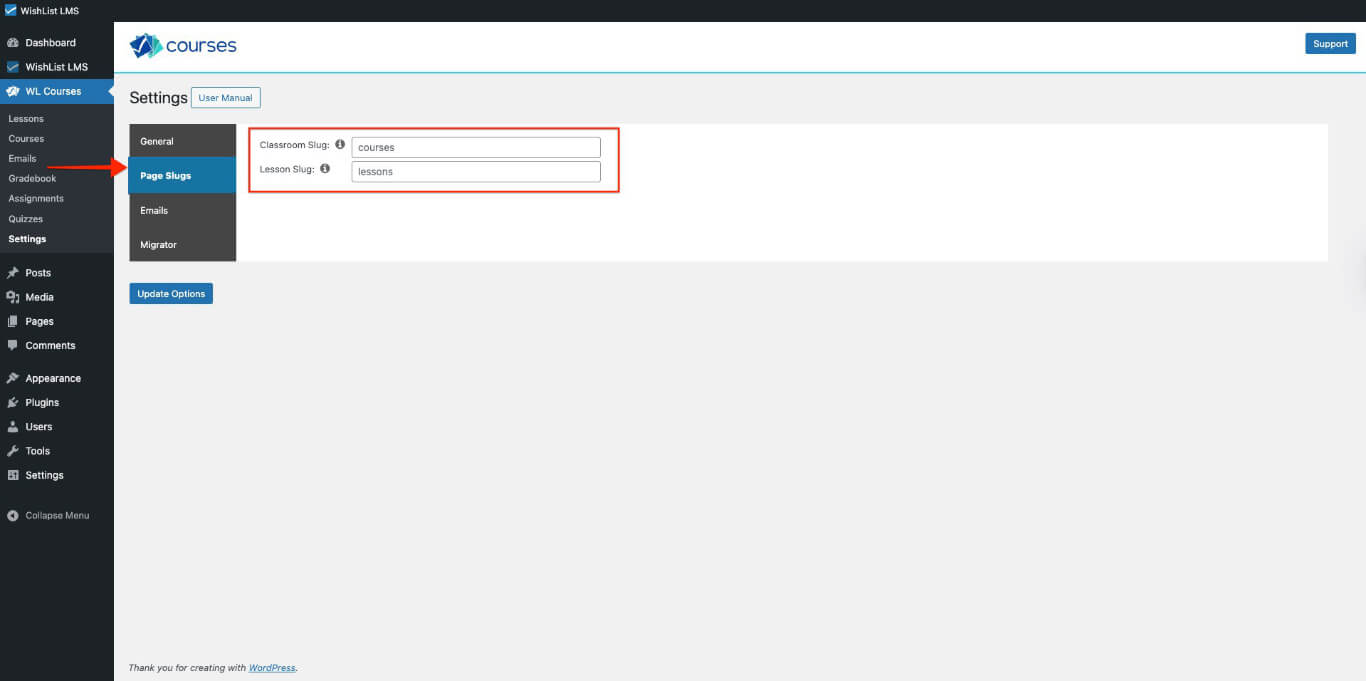
Modify these slugs to match your website’s URL structure and branding requirements.
WishList LMS Course Emails Configuration
In der E-Mails section, you can set up email sender and admin email details for the courses. These emails keep students, instructors, and admins informed about course activities.
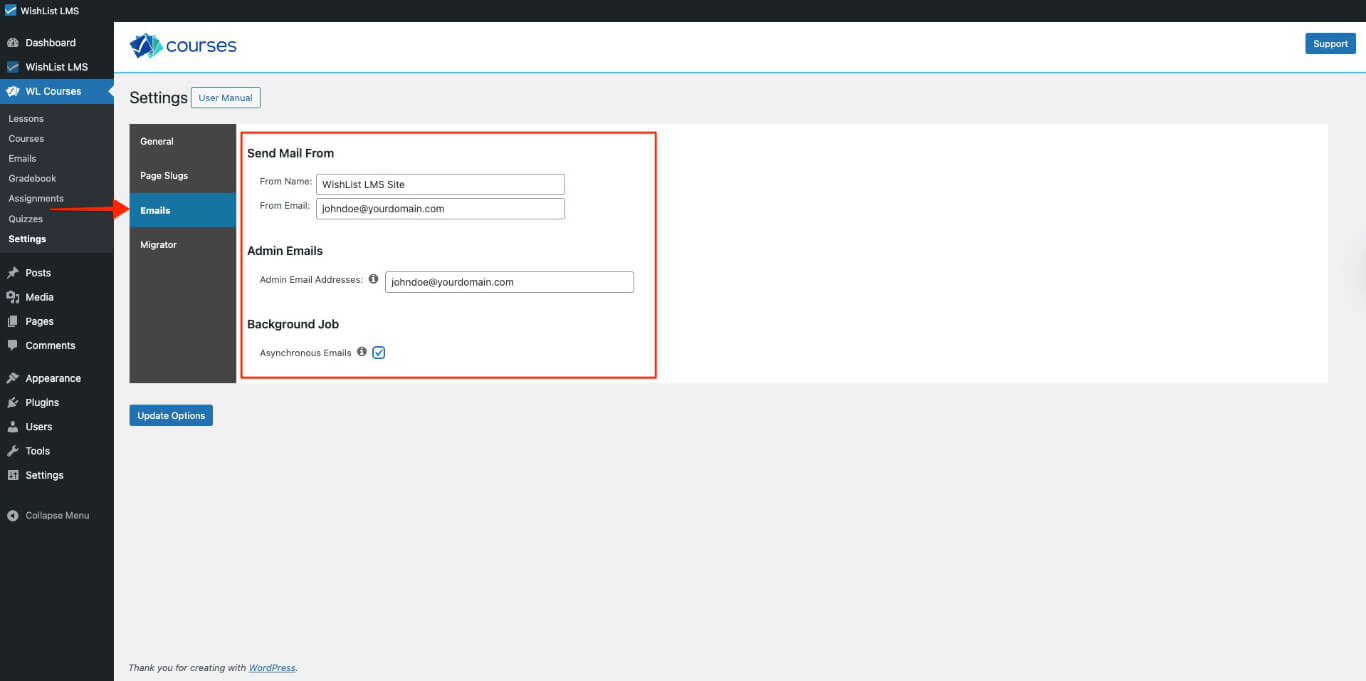
- Mail senden von: In this section, you can configure the sender’s name and email address.
- Admin Emails: This is a list of email addresses that will receive admin notifications. By default, this list includes the admin email you set in Settings > General > E-mail Address.
- Background Job: You can choose to send all WishList LMS Courses emails in the background. This option can speed up the checkout process, but it may also cause a delay in receiving emails. This option needs WP-Cron to be enabled and working.
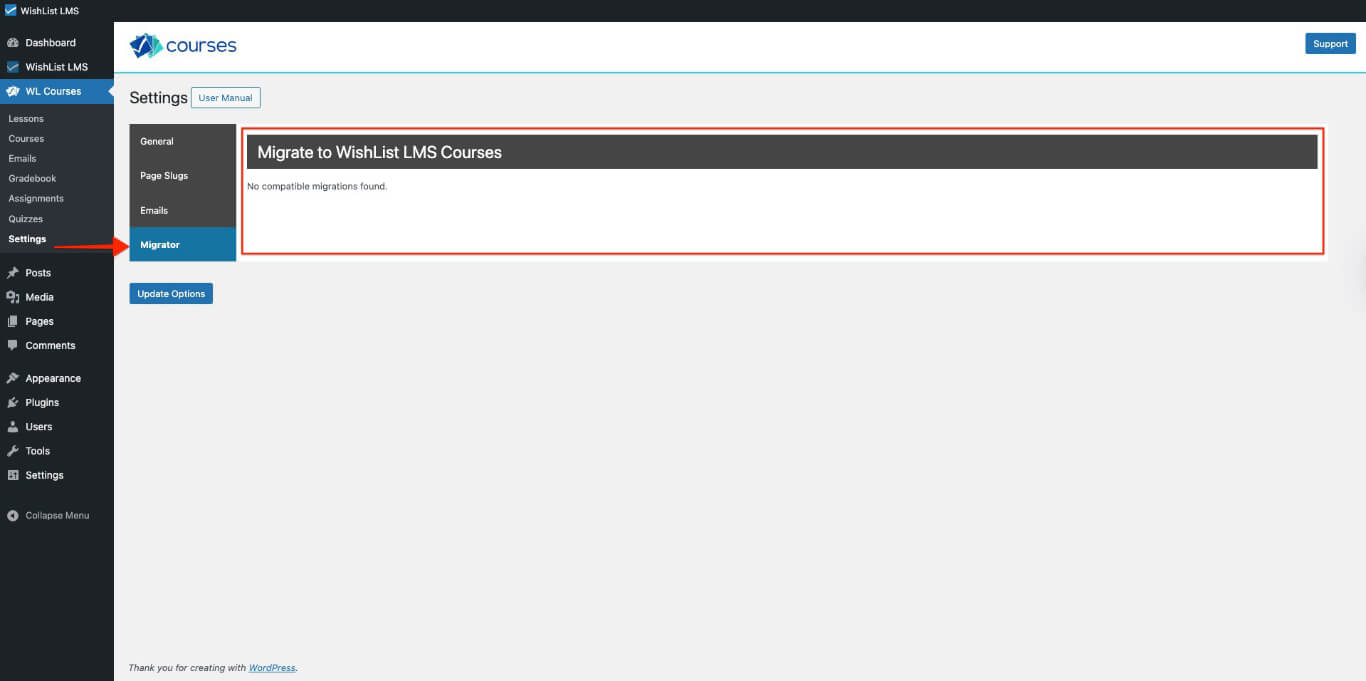
Migrate to WishList LMS Courses
Users moving from LearnDash can use the WishList LMS Courses Migrator in the Migrator section. It helps transfer courses easily.
LaunchPad™ Course Templates
LaunchPad™ templates are pre-made course pages that work right away. The Courses template helps create focused learning spaces.
Die LaunchPad™ Courses template features:
- Full-screen learning interface;
- Dedicated header, sidebar, and footer;
- Custom styling optimized for course content;
- Removal of website elements that could distract learners.
Manage LaunchPad™ Course Templates
Configure the Courses/Lessons template through WishList LMS settings:
- Navigieren Sie zu Dashboard > WishList LMS > Settings > LaunchPad™ tab.
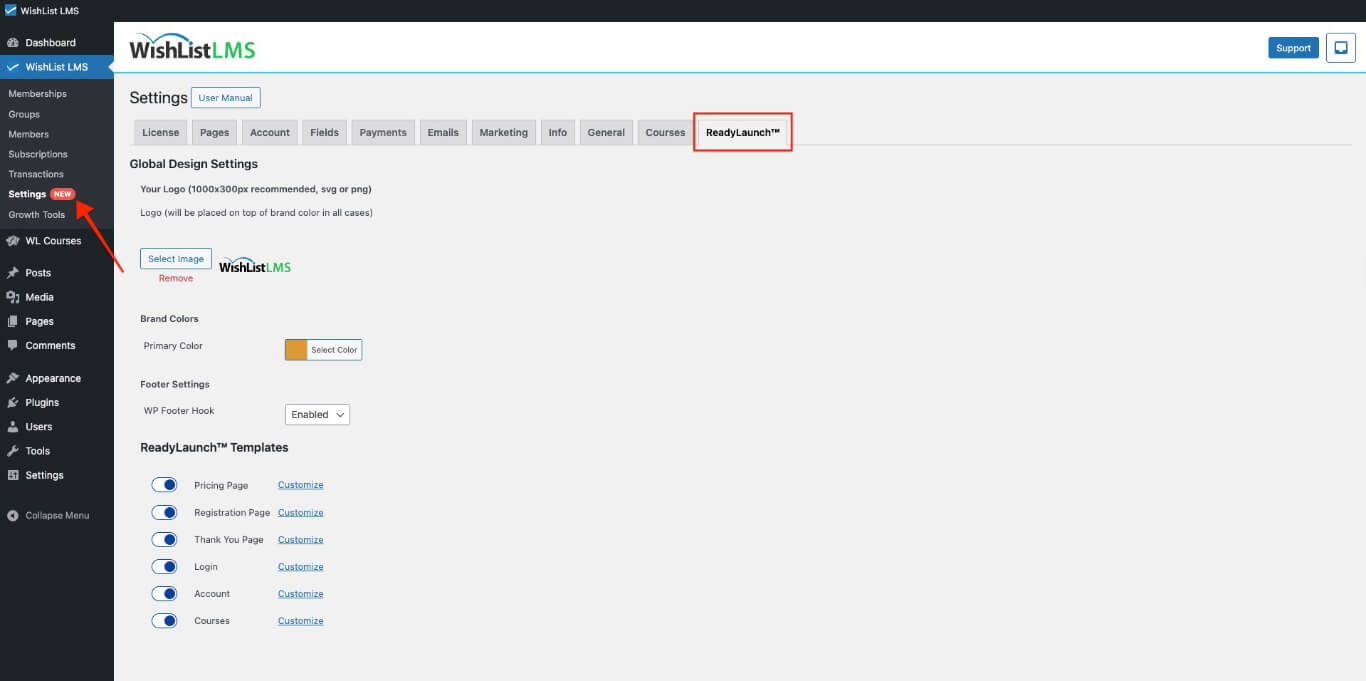
- Suchen Sie die LaunchPad™ Templates Abschnitt.
- Find the Kurse Option.
- Toggle the template on or off to enable or disable the feature.
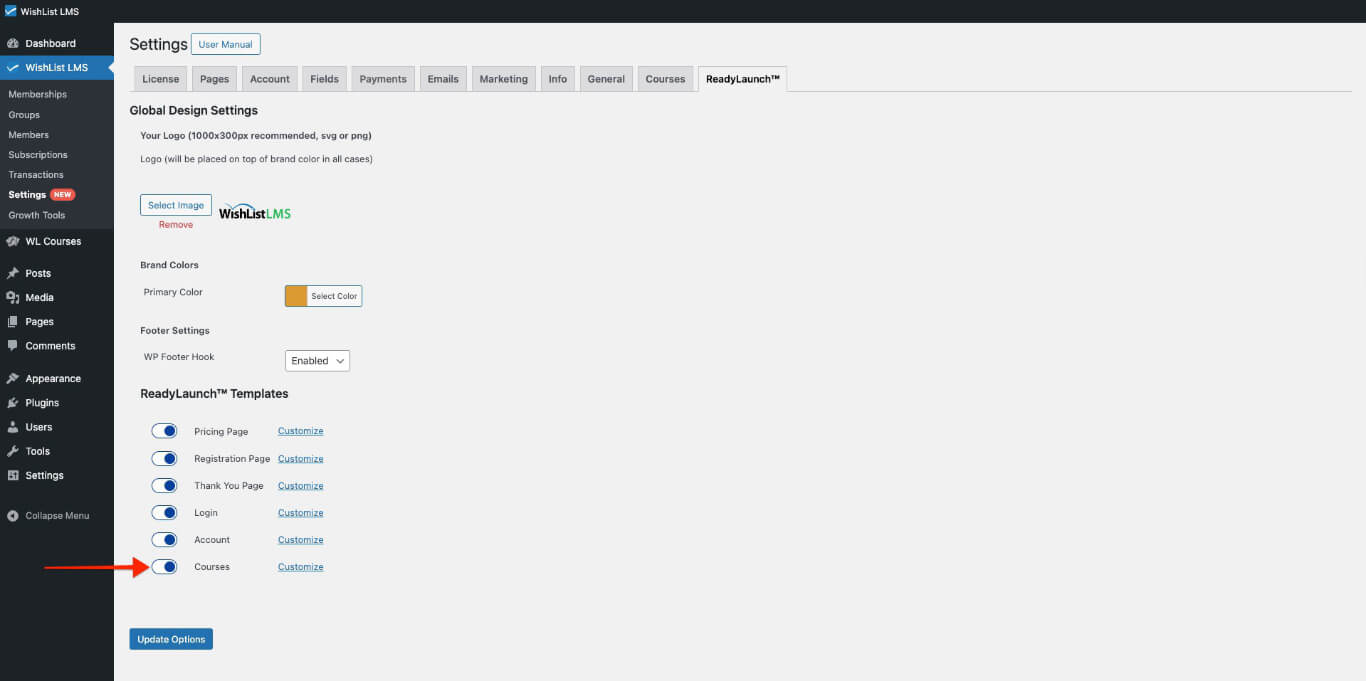
The template is ready to use immediately. To change its style, click the Anpassen link next to the template name.
Add Courses to the Navigation Menu
Add the Course Listing page or individual courses to your site navigation so visitors can find them easily.
- Navigieren Sie zu Dashboard > Erscheinungsbild > Menüs.
- Select the menu you want to edit, or create a new one.
- Öffnen Sie die Kurse panel on the left and select the courses or the Course Listing page.
- Klicken Sie auf Zum Menü hinzufügen, arrange the items, and click Save Menu.